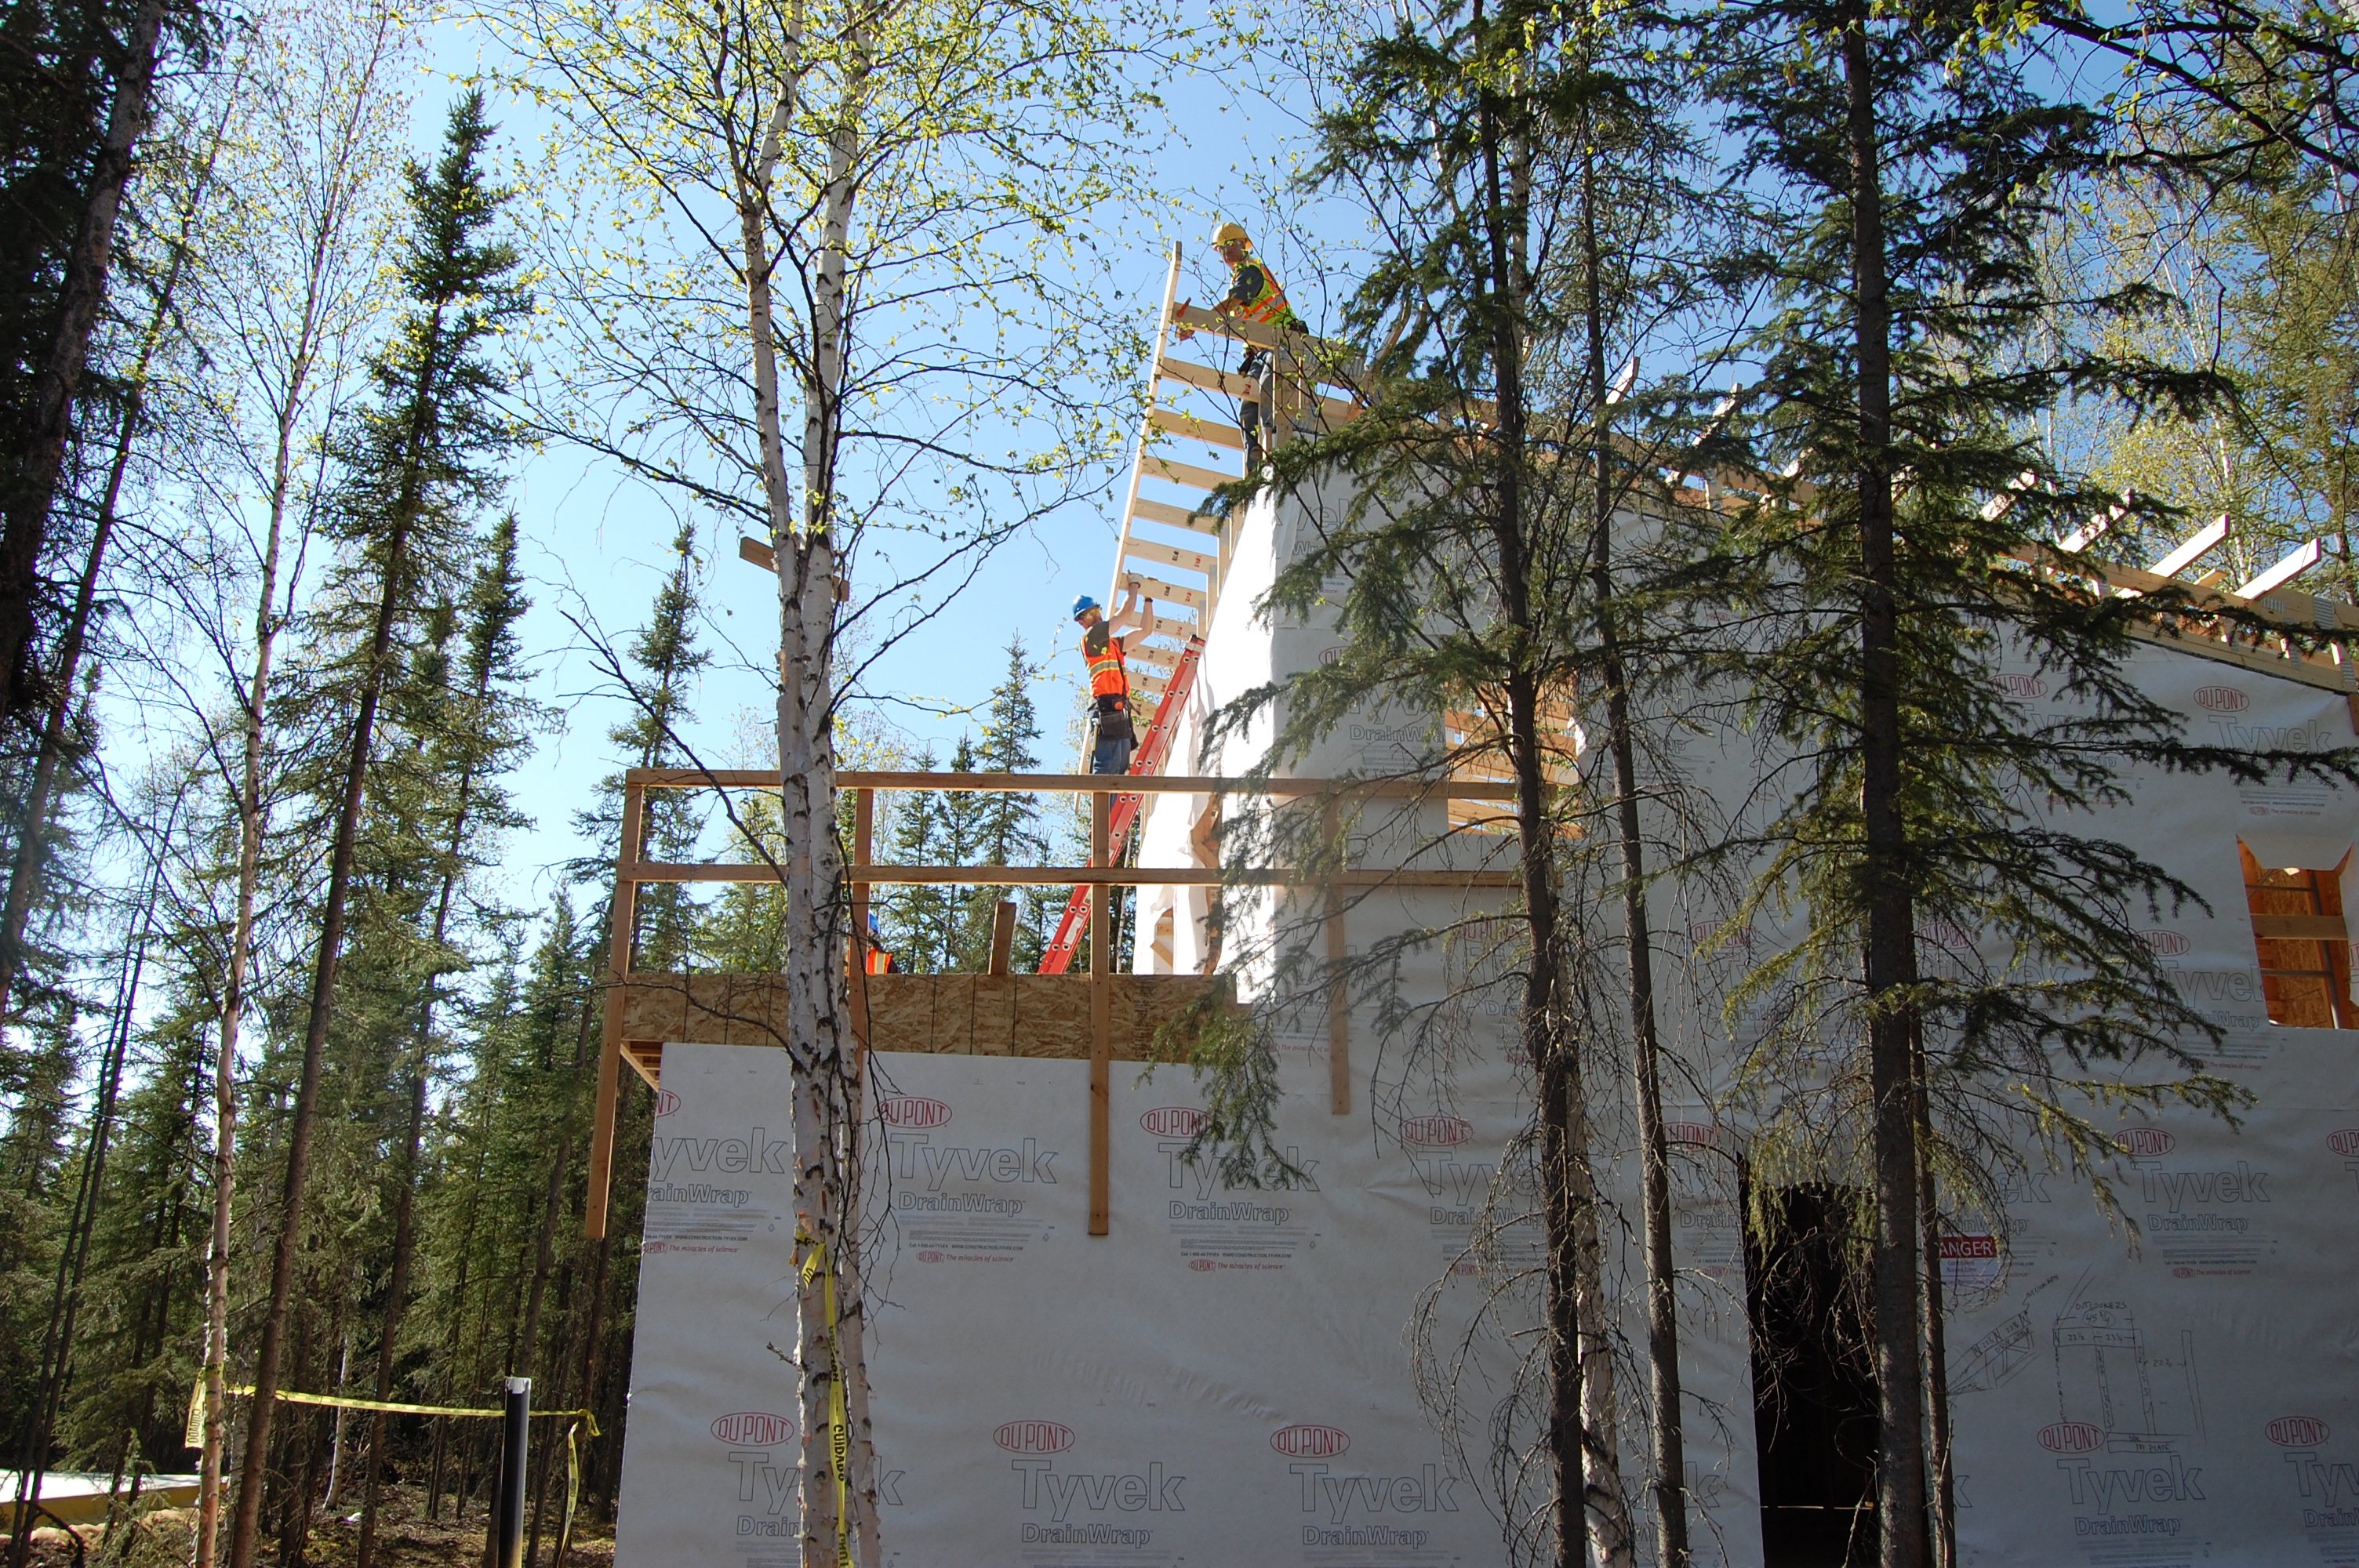
During Week 9, we installed ceiling vapor barriers, continued plumbing and wiring work, and started working on the electrical hook-up for the homes. After heavy rain over the weekend, and the ground is still frozen a few feet down, the site was temporarily transformed into a mud pit. This made it interesting to navigate heavy equipment and dig a trench for the power line. Nevertheless, we will have electricity by the end of the week!
Tag Archives: cold climate housing research center
Student carpenter on her view of the UAF Sustainable Village
Takpaan Weber is a UAF student from Anaktuvuk Pass, a small Iñupiat village in the Alaska Brooks Range. She describes her experience working on the UAF Sustainable Village and other low-energy experimental prototype homes she has helped build in rural Alaska.
What is a ground source heat pump?

A heat pump harvests energy from the ground to use for space heating for your home.
A ground source heat pump (GSHP) is a space heating appliance that uses electricity to convert geothermal heat to a temperature that can be used for indoor heating. They are common in the Lower 48 and quite popular in Europe. There are also several GSHP systems in Alaska, including commercial systems at the Juneau Airport, Weller Elementary School in Fairbanks, and the Alaska SeaLife Center in Seward. Fairbanks has more than 10 residential systems as well.
In the winter, ground source heat pumps work like refrigerators in reverse. Instead of taking heat from the inside of the refrigerator and rejecting it outside, a GSHP gathers heat from the ground, steps it up to a higher temperature using a compressor, and then “rejects” it inside a house. In the summer, some GSHPs can run in reverse mode to provide air conditioning – taking heat from a house and rejecting it to the ground. The main “fuel” for a GSHP is geothermal energy, but it uses electricity to run the compressor. Since the electricity is only acting to boost the geothermal heat (which is free), heat pumps are more efficient than electric heating appliances.
A GSHP consists of 3 parts: the ground loop, the heat pump and the distribution system. The ground loop gathers heat from the ground. It consists of loops of pipes buried in horizontal troughs or vertical boreholes. A pump moves a fluid through the pipes. As the fluid travels, it is warmed up by geothermal heat from the soil and returns to the heat pump with a higher temperature than when it left. Back at the heat pump, the fluid from the ground loop passes its heat to a refrigerant, causing it to evaporate into a gas. The refrigerant fluid then passes through a compressor and its heat can be “stepped up” before it transfers the heat to air or water for the distribution system. Heat pumps can work with a forced air distribution system or a radiant hydronic distribution system, however they generally are not capable of producing hot enough water for baseboard hydronic systems.
Ground source heat pumps are considered a partially renewable technology, because the heat they take from the ground comes from solar and geothermal sources. They are entirely renewable if the electricity they use comes from a renewable source, such as solar or wind. Heat pumps are also very safe to operate, because there is no combustion. They can, however, be expensive to install because you have to excavate land or drill to establish the ground loop. Talk to an installer if you think a GSHP might be right for you.
For more information on ground source heat pumps, see a report by the Cold Climate Housing Research Center and the Alaska Center for Energy and Power: http://cchrc.org/docs/reports/Ground-Source-Heat-Pumps-in-Cold-Climates.pdf. It covers the performance, cost and payback of GSHPs in various regions of Alaska.
Sustainable Village Week 8
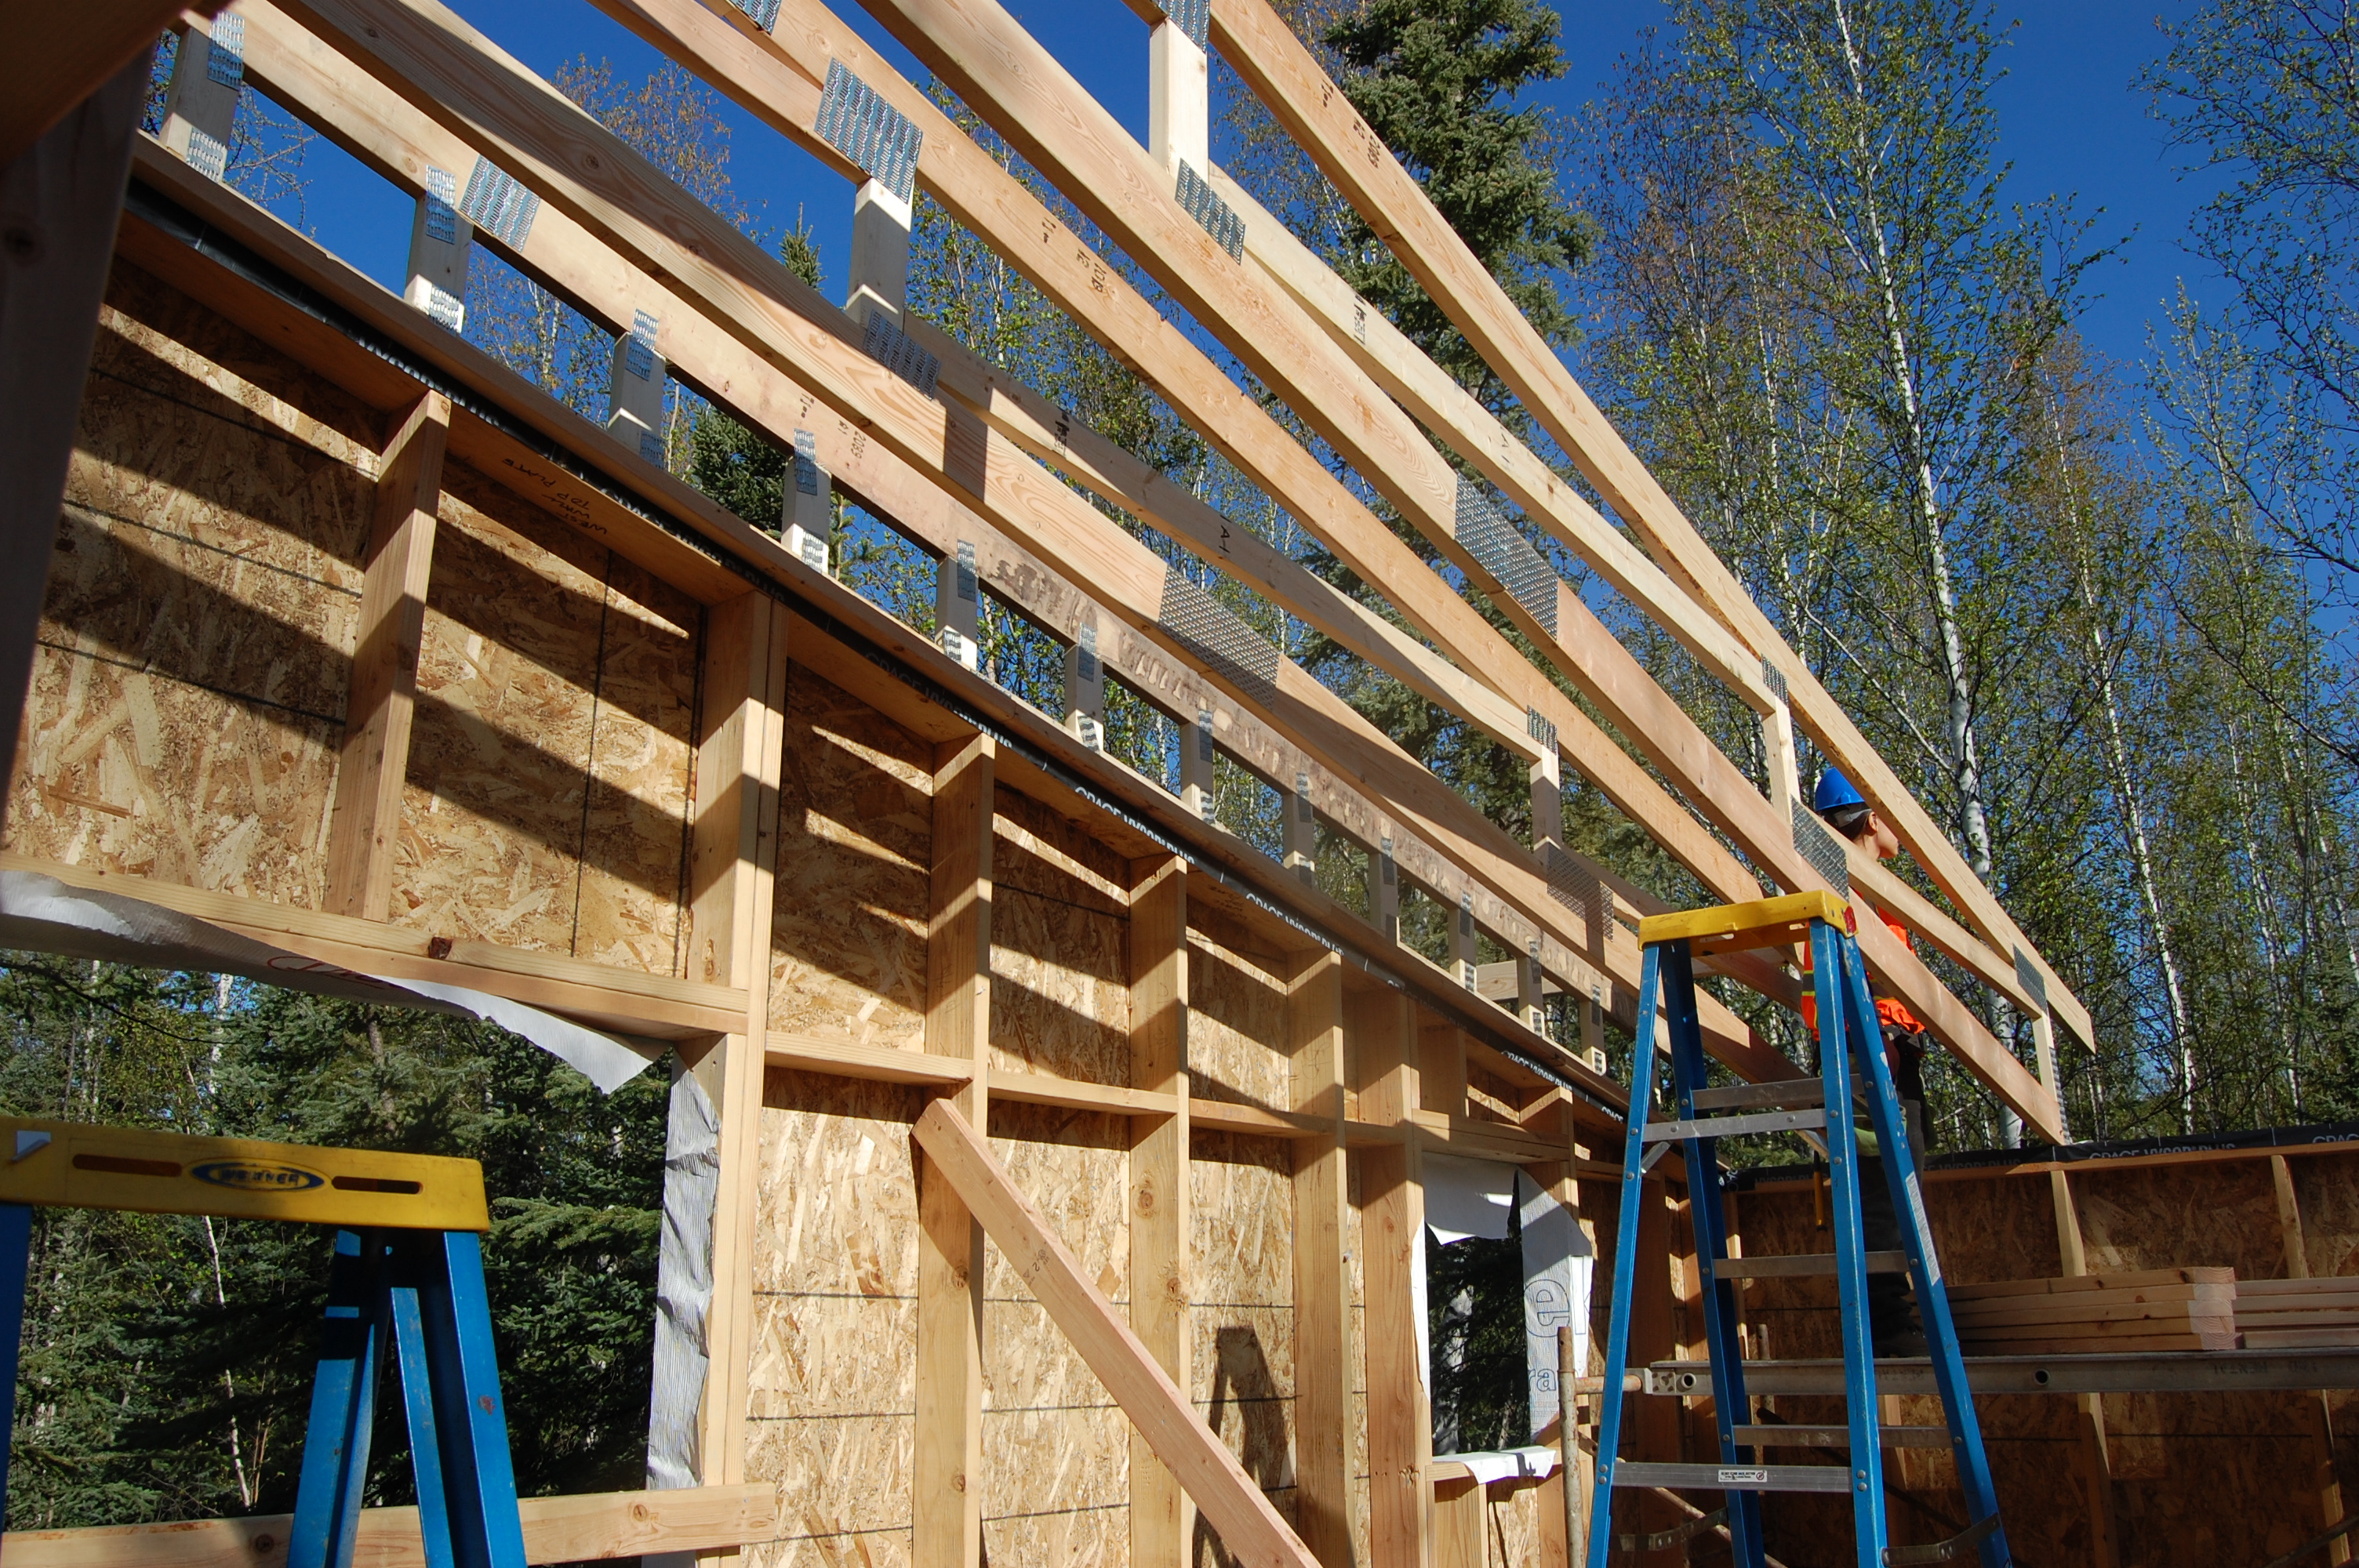
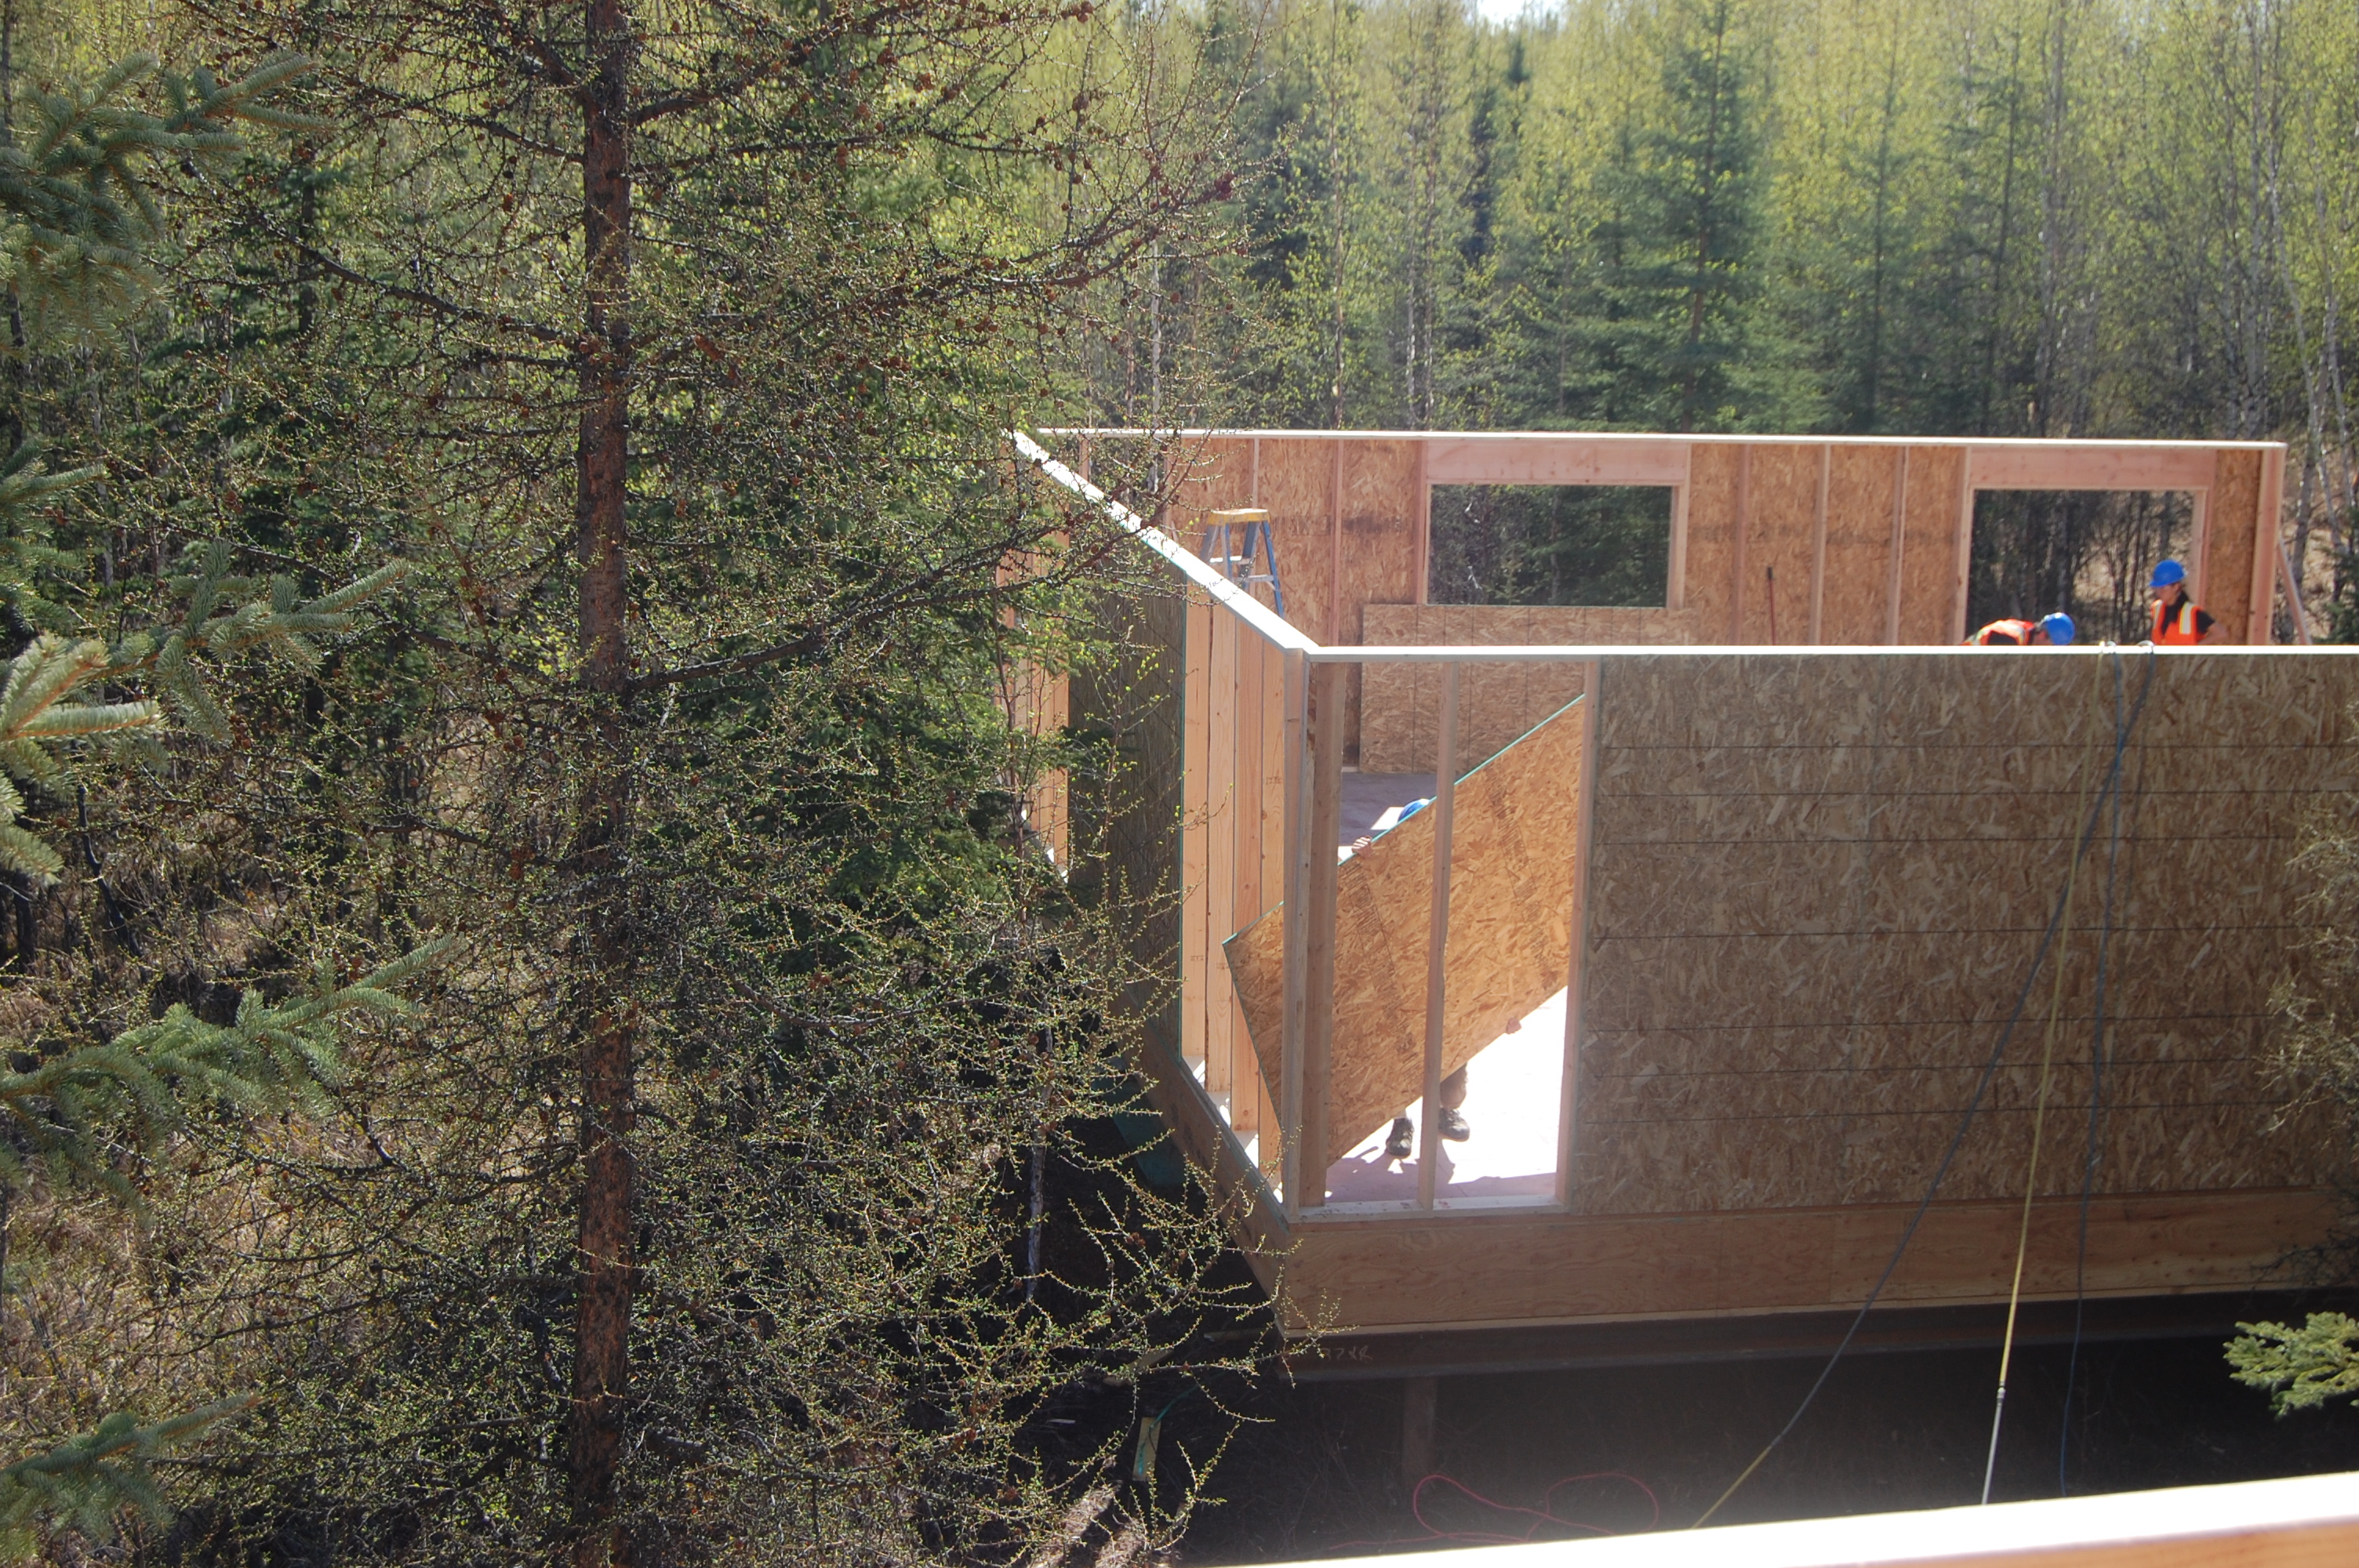
Framing is underway on the 4th and final house. Workers began applying ceiling vapor barriers and Grace rain and ice shields (which act as a drainage plane) to the fully framed homes. Now we’re exploring options for siding and interior finishing, looking at a combination of donated, market-value, and reclaimed materials.
Vapor Barriers & House Wraps: Where and Why

House wraps, such as Tyvek, are permeable enough to allow water vapor through but will stop bulk water like rain.
Vapor barriers and house wraps are a critical part of controlling moisture and air flow in and around your home. Working in conjunction with your walls, floor, and roof, the right type and application of these products will help you to conserve energy, prevent mold growth, and maintain the structural integrity of your home. Not using these products or using one incorrectly can wreak havoc.
Vapor Barriers
A vapor barrier, also known as a vapor diffusion retarder, is a layer of material designed to slow or nearly block the movement of water vapor. How much a vapor barrier impedes the movement of water is referred to as its permeability rating or, for short, “perm” rating. So it’s a bit misleading to use the term vapor barrier because many materials in this category do allow some moisture through. 6 mil thick plastic sheeting is a typical vapor barrier material prescribed by codes in extreme cold climates, as it’s perm rating is extremely low.
All homes generate moisture indoors. Cooking, bathing, breathing – all these activities create water vapor. Ventilation, which is essential to exchange moisture-laden air with clean dry air, helps to reduce the quantity of moisture in your home, but not enough to eliminate the need for a vapor barrier. Without a barrier, moisture can penetrate your walls and roof spaces.
Approximately 98 percent of water vapor in a home travels by air, but the remainder moves by diffusion – through solid materials such as the studs in your walls. When these materials become cold in winter, condensation forms and can trigger mold growth and other problems. The extreme air pressure and temperatures differences that occur in Fairbanks in winter exacerbate condensation problems. And, in the case of modern construction, tight building envelopes can serve to concentrate moisture problems in the absence of adequate ventilation.
House Wraps
House wraps, on the other hand, are designed to be permeable enough to allow water vapor to pass through them, but will stop bulk water like rain from passing through – sort of like Gortex in clothing. In addition, house wraps can help minimize the movement of air in and out of the exterior walls. Losing air from a house in an uncontrolled manner means that you are losing heat. This loss amounts to extra fuel costs and can become a burden on your budget.
To effectively repel water and reduce airflow, house wraps must be detailed correctly and applied using the manufacturer’s recommended methods and adhesives. All those protrusions through your walls such as vents, electrical connections, and architectural features must be carefully accounted for. The right types of house wraps can perform an important job in windy places by stemming significant heat loss.
Now comes the tricky part: some house wraps can also serve as vapor barriers and vice versa. Placement and permeability is also a fairly complicated issue. There may be certain cases when house wraps are not necessary, but when used are almost always placed on exterior of a house and over its sheathing.
More
The placement and permeability of vapor barriers and house wraps are addressed by building codes, but vary by region. Vapor barriers are required in Fairbanks. This article only touches on the details required to choose and install vapor barriers and house wraps. You can find resources at the CCHRC and the University of Alaska Fairbanks Cooperative Extension Service to help you make the right decisions. Doing your research up front can save a lot of problems later on.
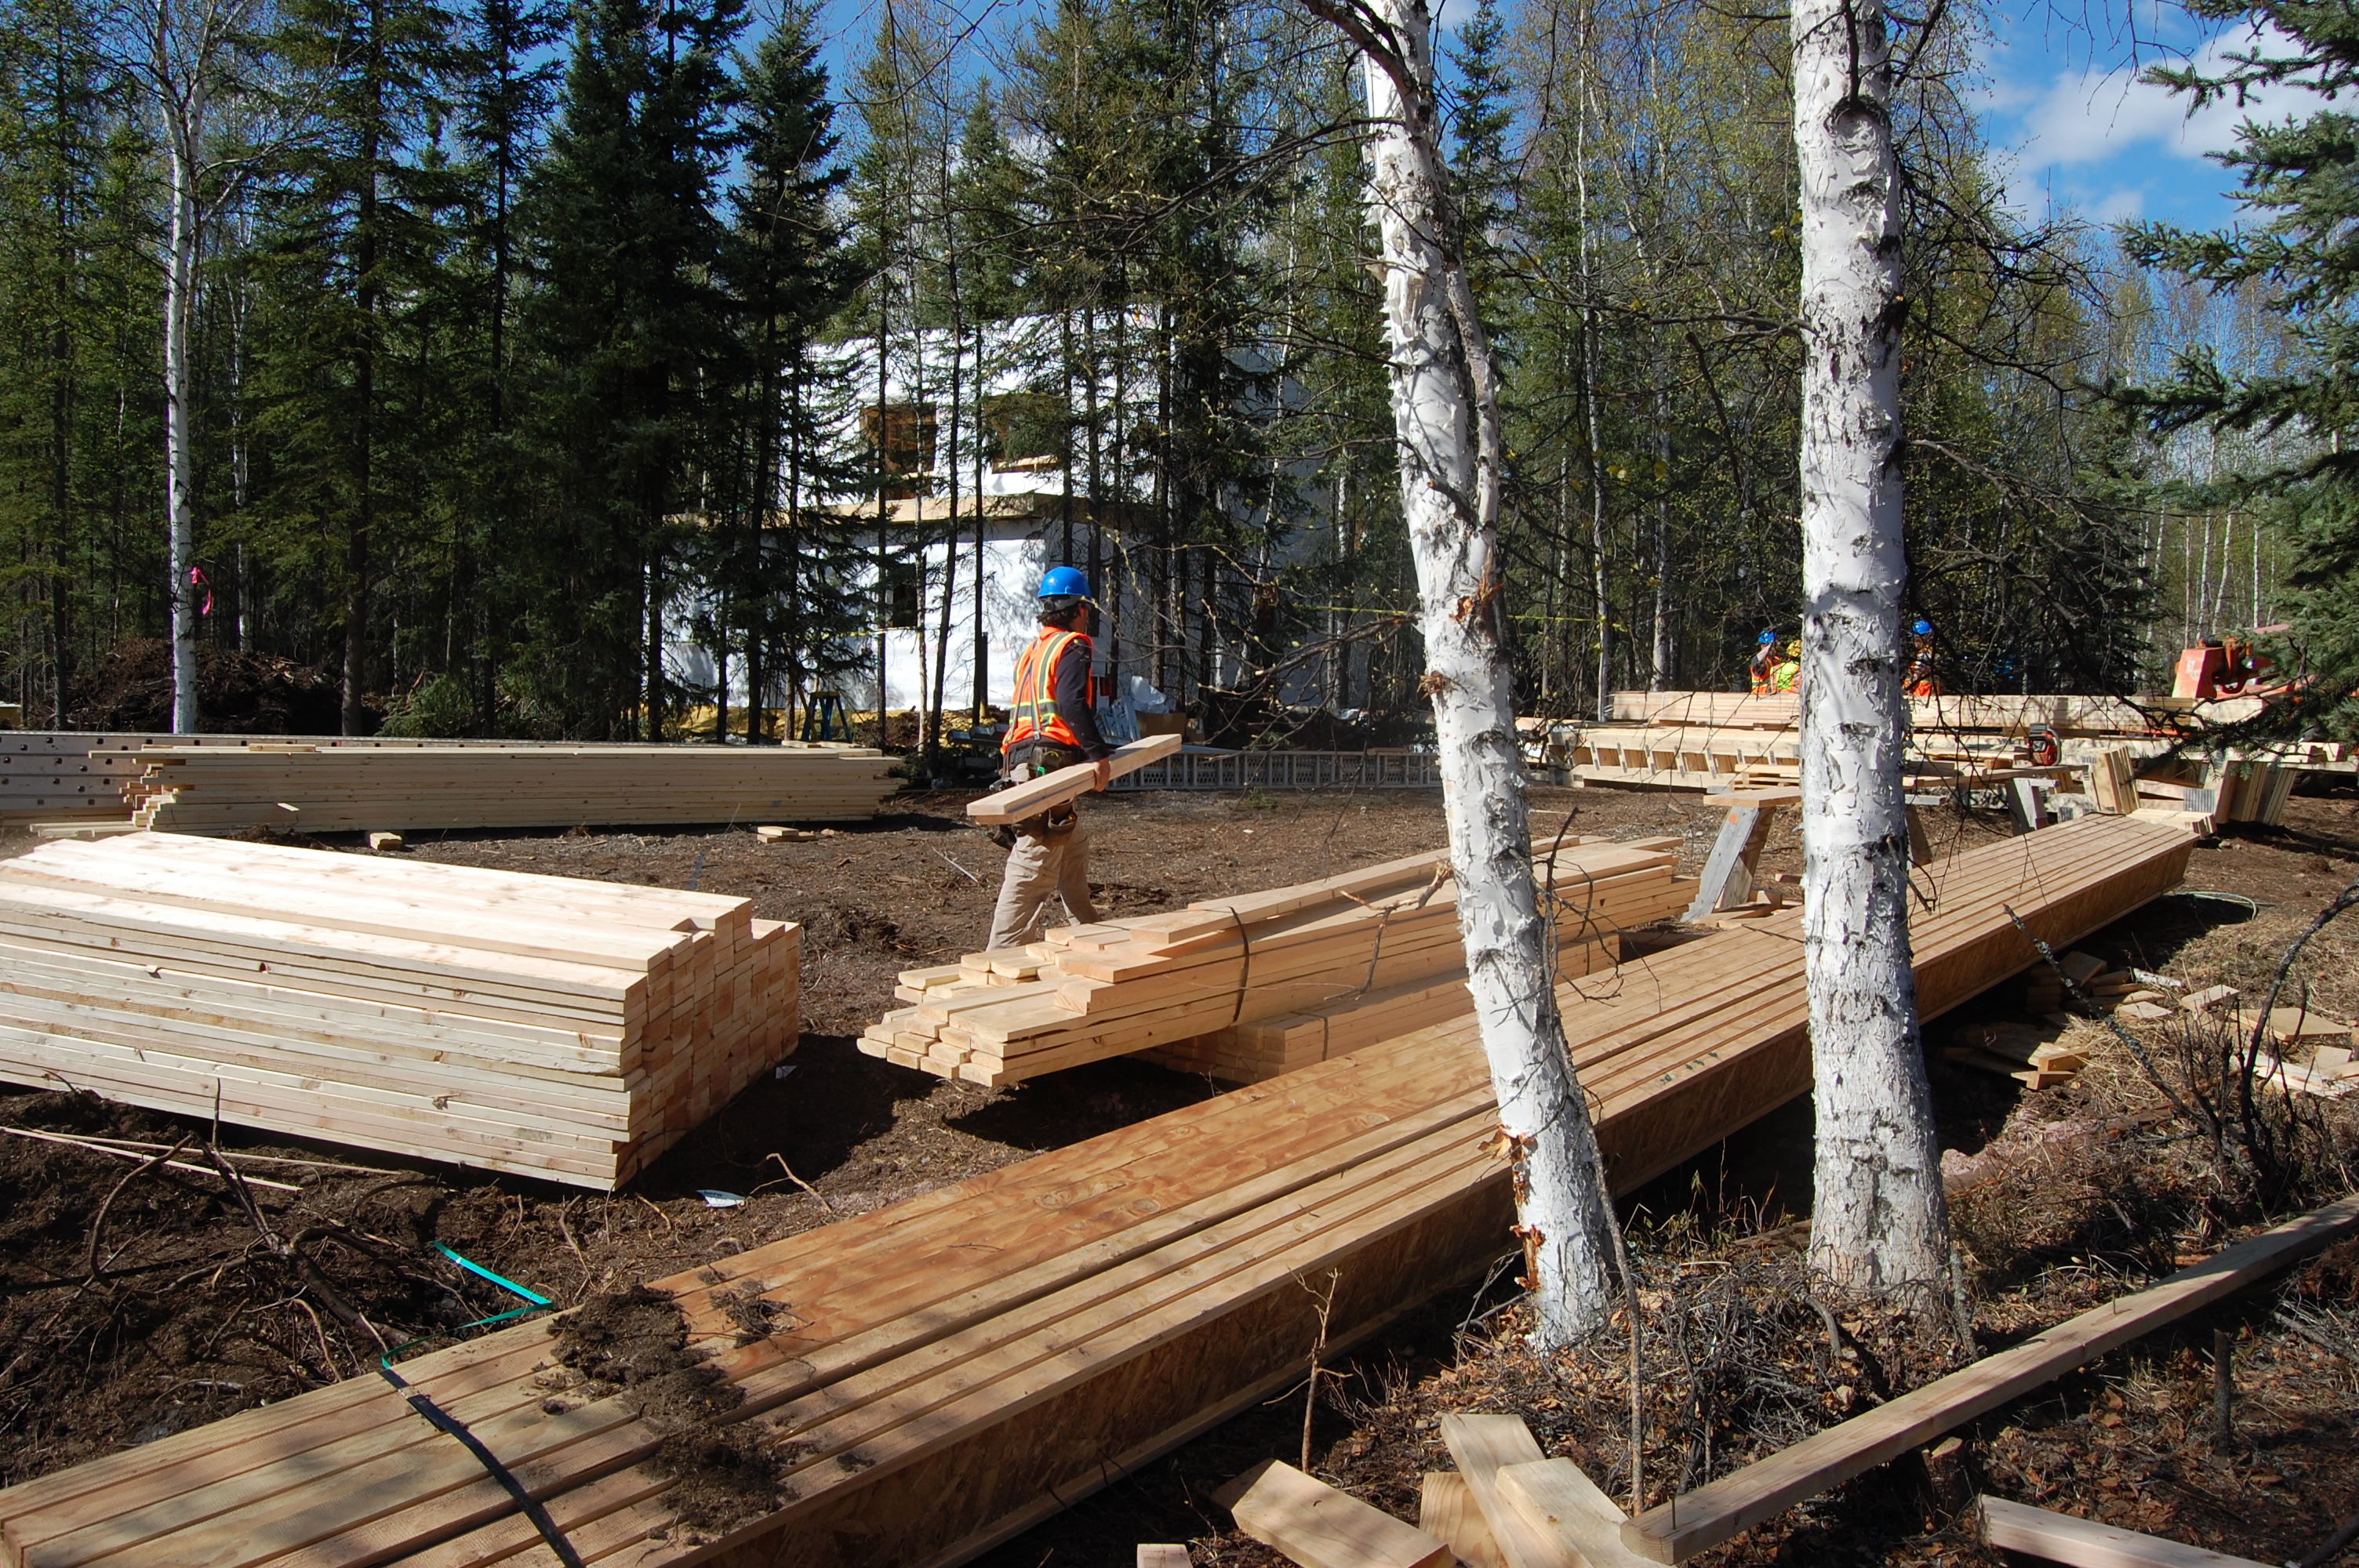
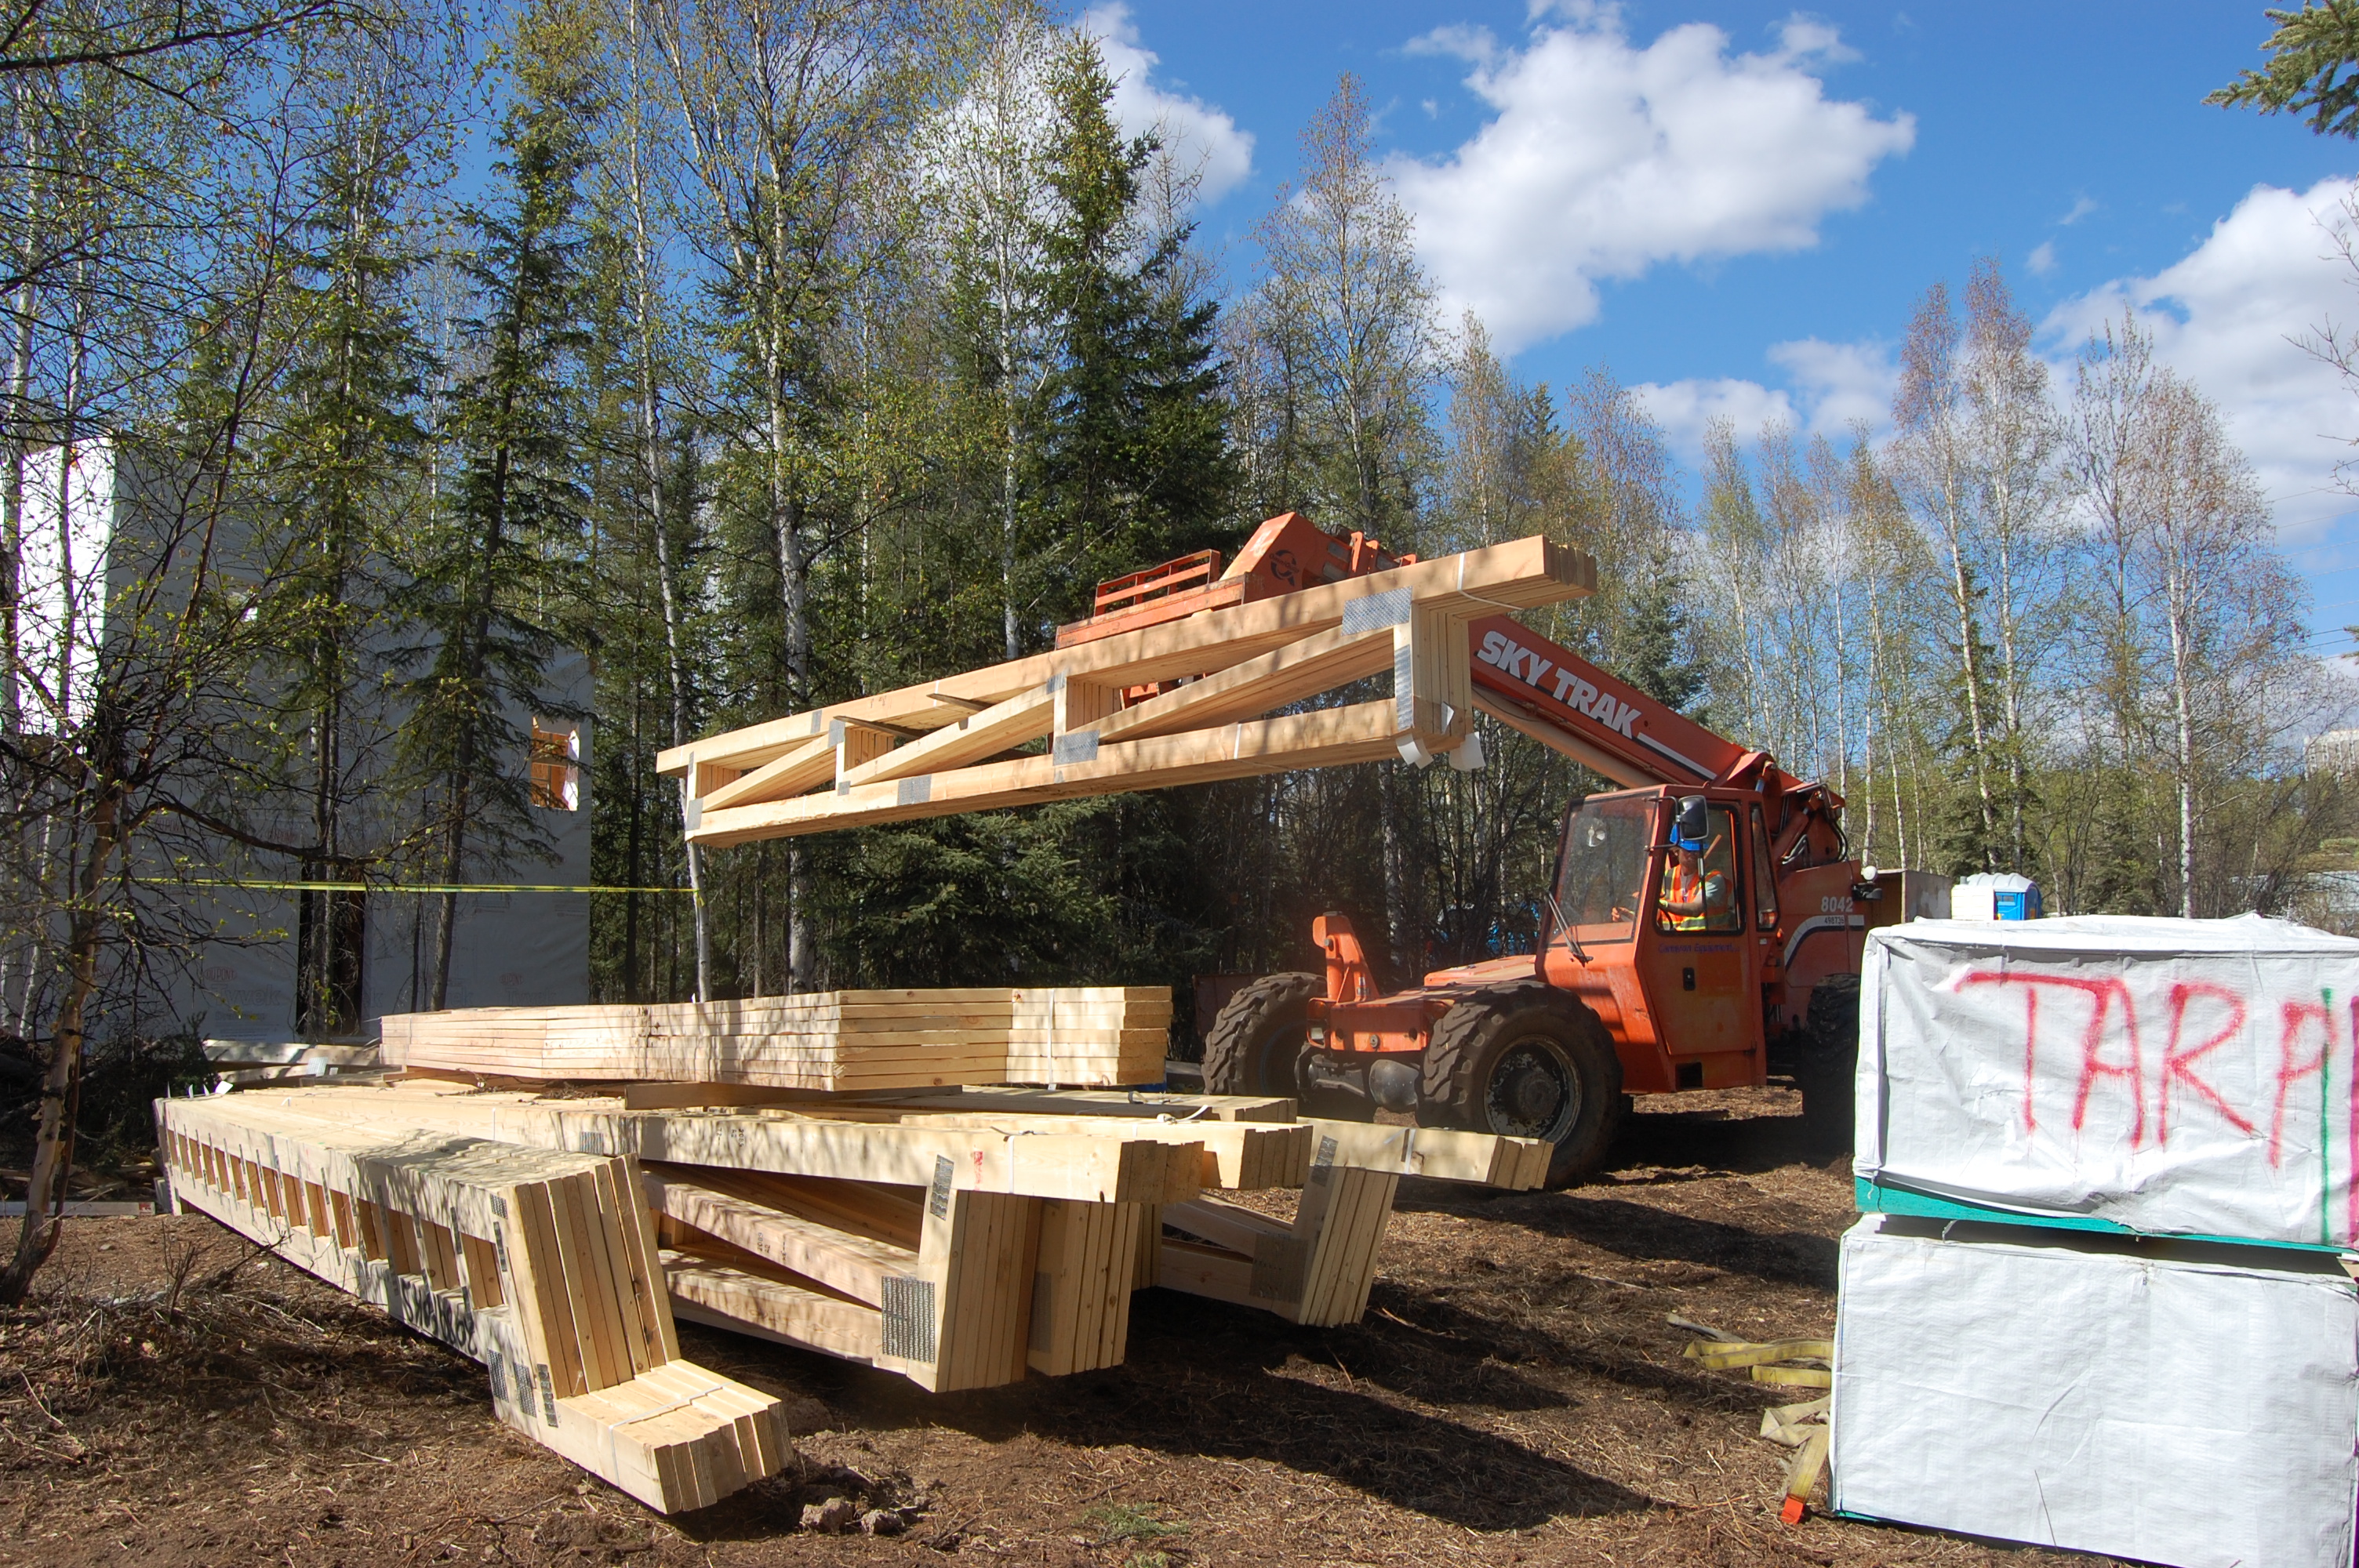
Sustainable Village Week 6: trusses and T-shirts
During Week 6, we started framing the third (SE) house and laying out trusses for the two northern homes. Two more UAF students began working at the site for a total of four. The crew is jelling and construction is on schedule! It warmed up to 65 degrees this week, and the T-shirts and bug dope came out. Next week we are planning to finish roofs on the northern homes and begin plumbing and electrical work. Then we’ll add sheathing and trim. Meanwhile, we’ll begin framing the fourth and final house, which will likely have the Reina Wall–a double wall with thick blown-in cellulose insulation developed by local builder Thorsten Chlupp of Reina, LLC.

How do I know if my boiler (or furnace) is the correct size for my house?
If you are thinking about purchasing a new boiler (or any other heating appliance) in the near future, make sure that you get one that is the optimal size for your house. Correctly sized boilers operate more efficiently and are able to keep your house at a comfortable temperature. A boiler that is too small will not be able to produce enough heat in the winter months, and a boiler that is too large will cycle on and off, wasting fuel, just like a car driving in stop-and-go traffic. Here are 3 ways to know if your current boiler is the correct size:
1) The rule-of-thumb: On the coldest day of the year, your boiler should run pretty much non-stop to keep the set temperature. Think of it as a car driving on the highway, getting a high miles-per-gallon since it doesn’t have to start and stop. If it does run non-stop, but your house does not stay warm, then the boiler is undersized. On the other hand, if you find your boiler cycling on and off during January’s coldest week, then you should consider getting a smaller boiler.
2) The calculations method: To determine what size of a heating appliance you will need, in addition to finding out information about what other energy upgrades you can make to your house, consider signing up for an energy rating. An energy rater will look at your entire house, measuring the air leakage rate with depressurization from doors and windows, checking insulation levels, assessing your heating system and checking for drafts. They will input this information into AKWarm, software maintained by the Alaska Housing Finance Corporation that calculates energy ratings. In a few weeks, you will receive the rating in the mail. It includes ways to improve the rating and other information on your house, such as the heating needs. An energy rating typically costs between $425-$550, but this will be rebated if you participate in the Home Energy Rebate Program (though you will likely face a waitlist for the rating). Visit the Alaska Housing Finance Corporation website for information on the rebate program and signing up for a rating: www.akrebate.com.
3) Do-it-yourself: The rating software AKWarm is available for free online. If you are computer-savvy and have a few hours to gather information on your house, you can use AKWarm to calculate your own unofficial energy rating. The software is available for download here: www.analysisnorth.com/AKWarm/AKWarm2download.html.
Framing, Floors & Slabs
We’ve made a lot of progress on the Sustainable Village this week—framed the first floor of the northwest house, started building the deck for the second floor, and poured concrete slabs for the two east homes.
The first floor of the first house was framed in a day. The 1,500-square-foot home has four bedrooms, a downstairs bathroom, upstairs kitchen, and big south-facing deck on the second story.
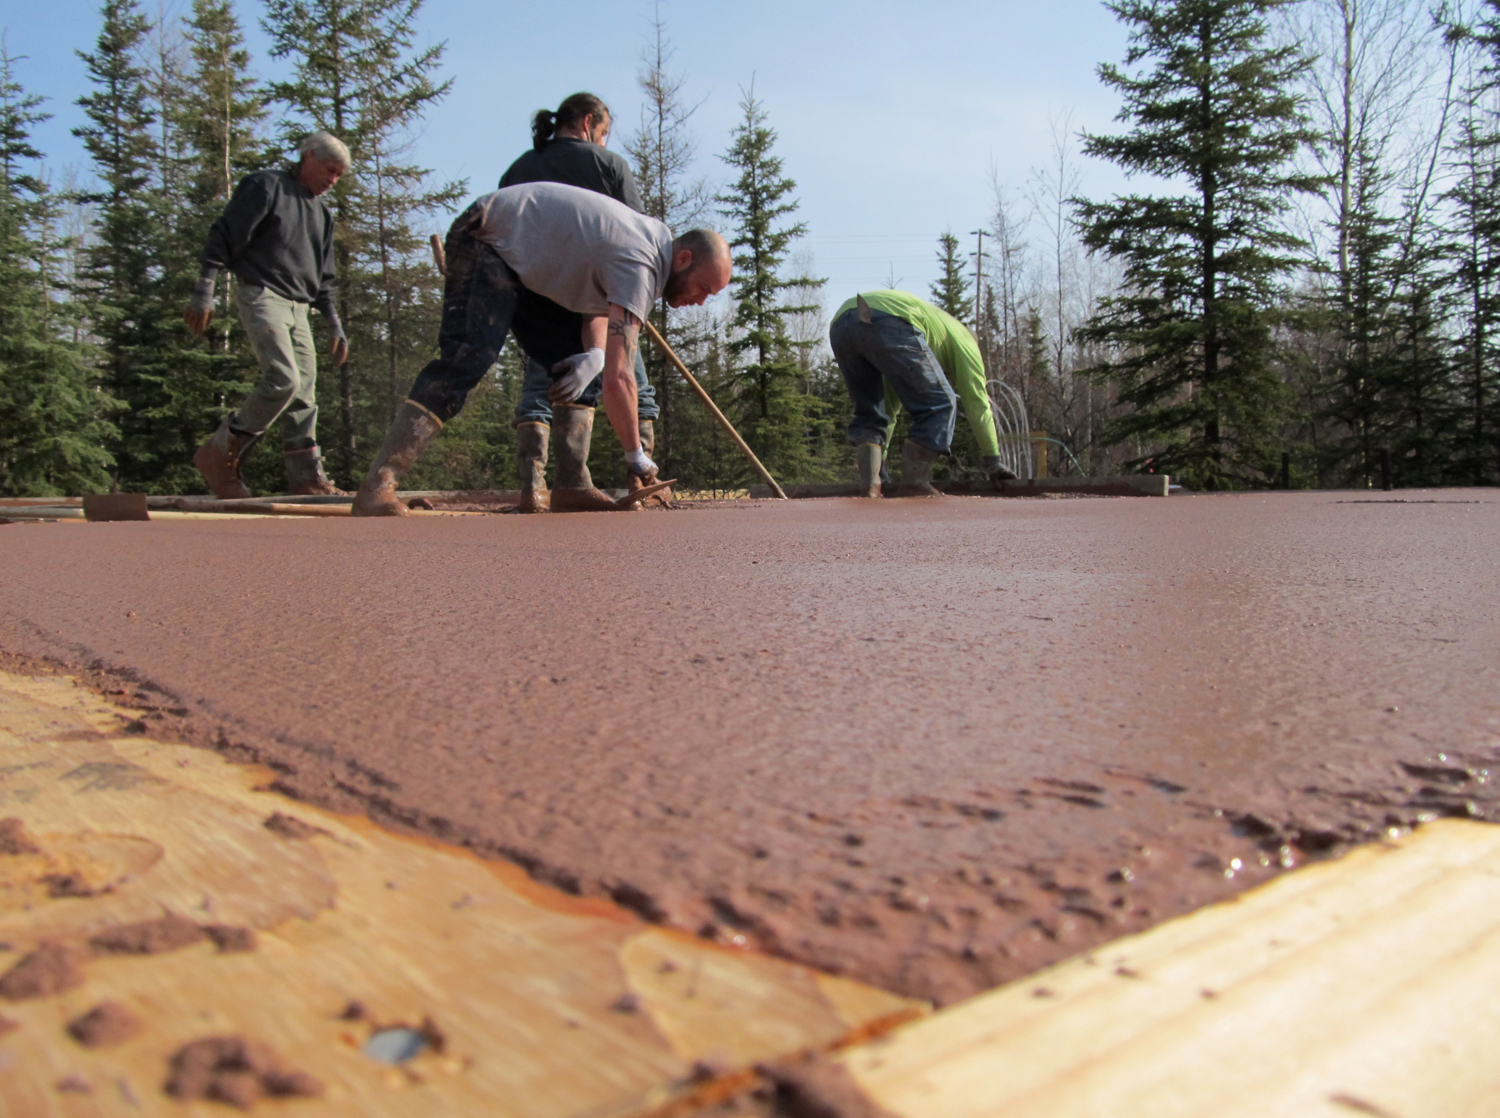
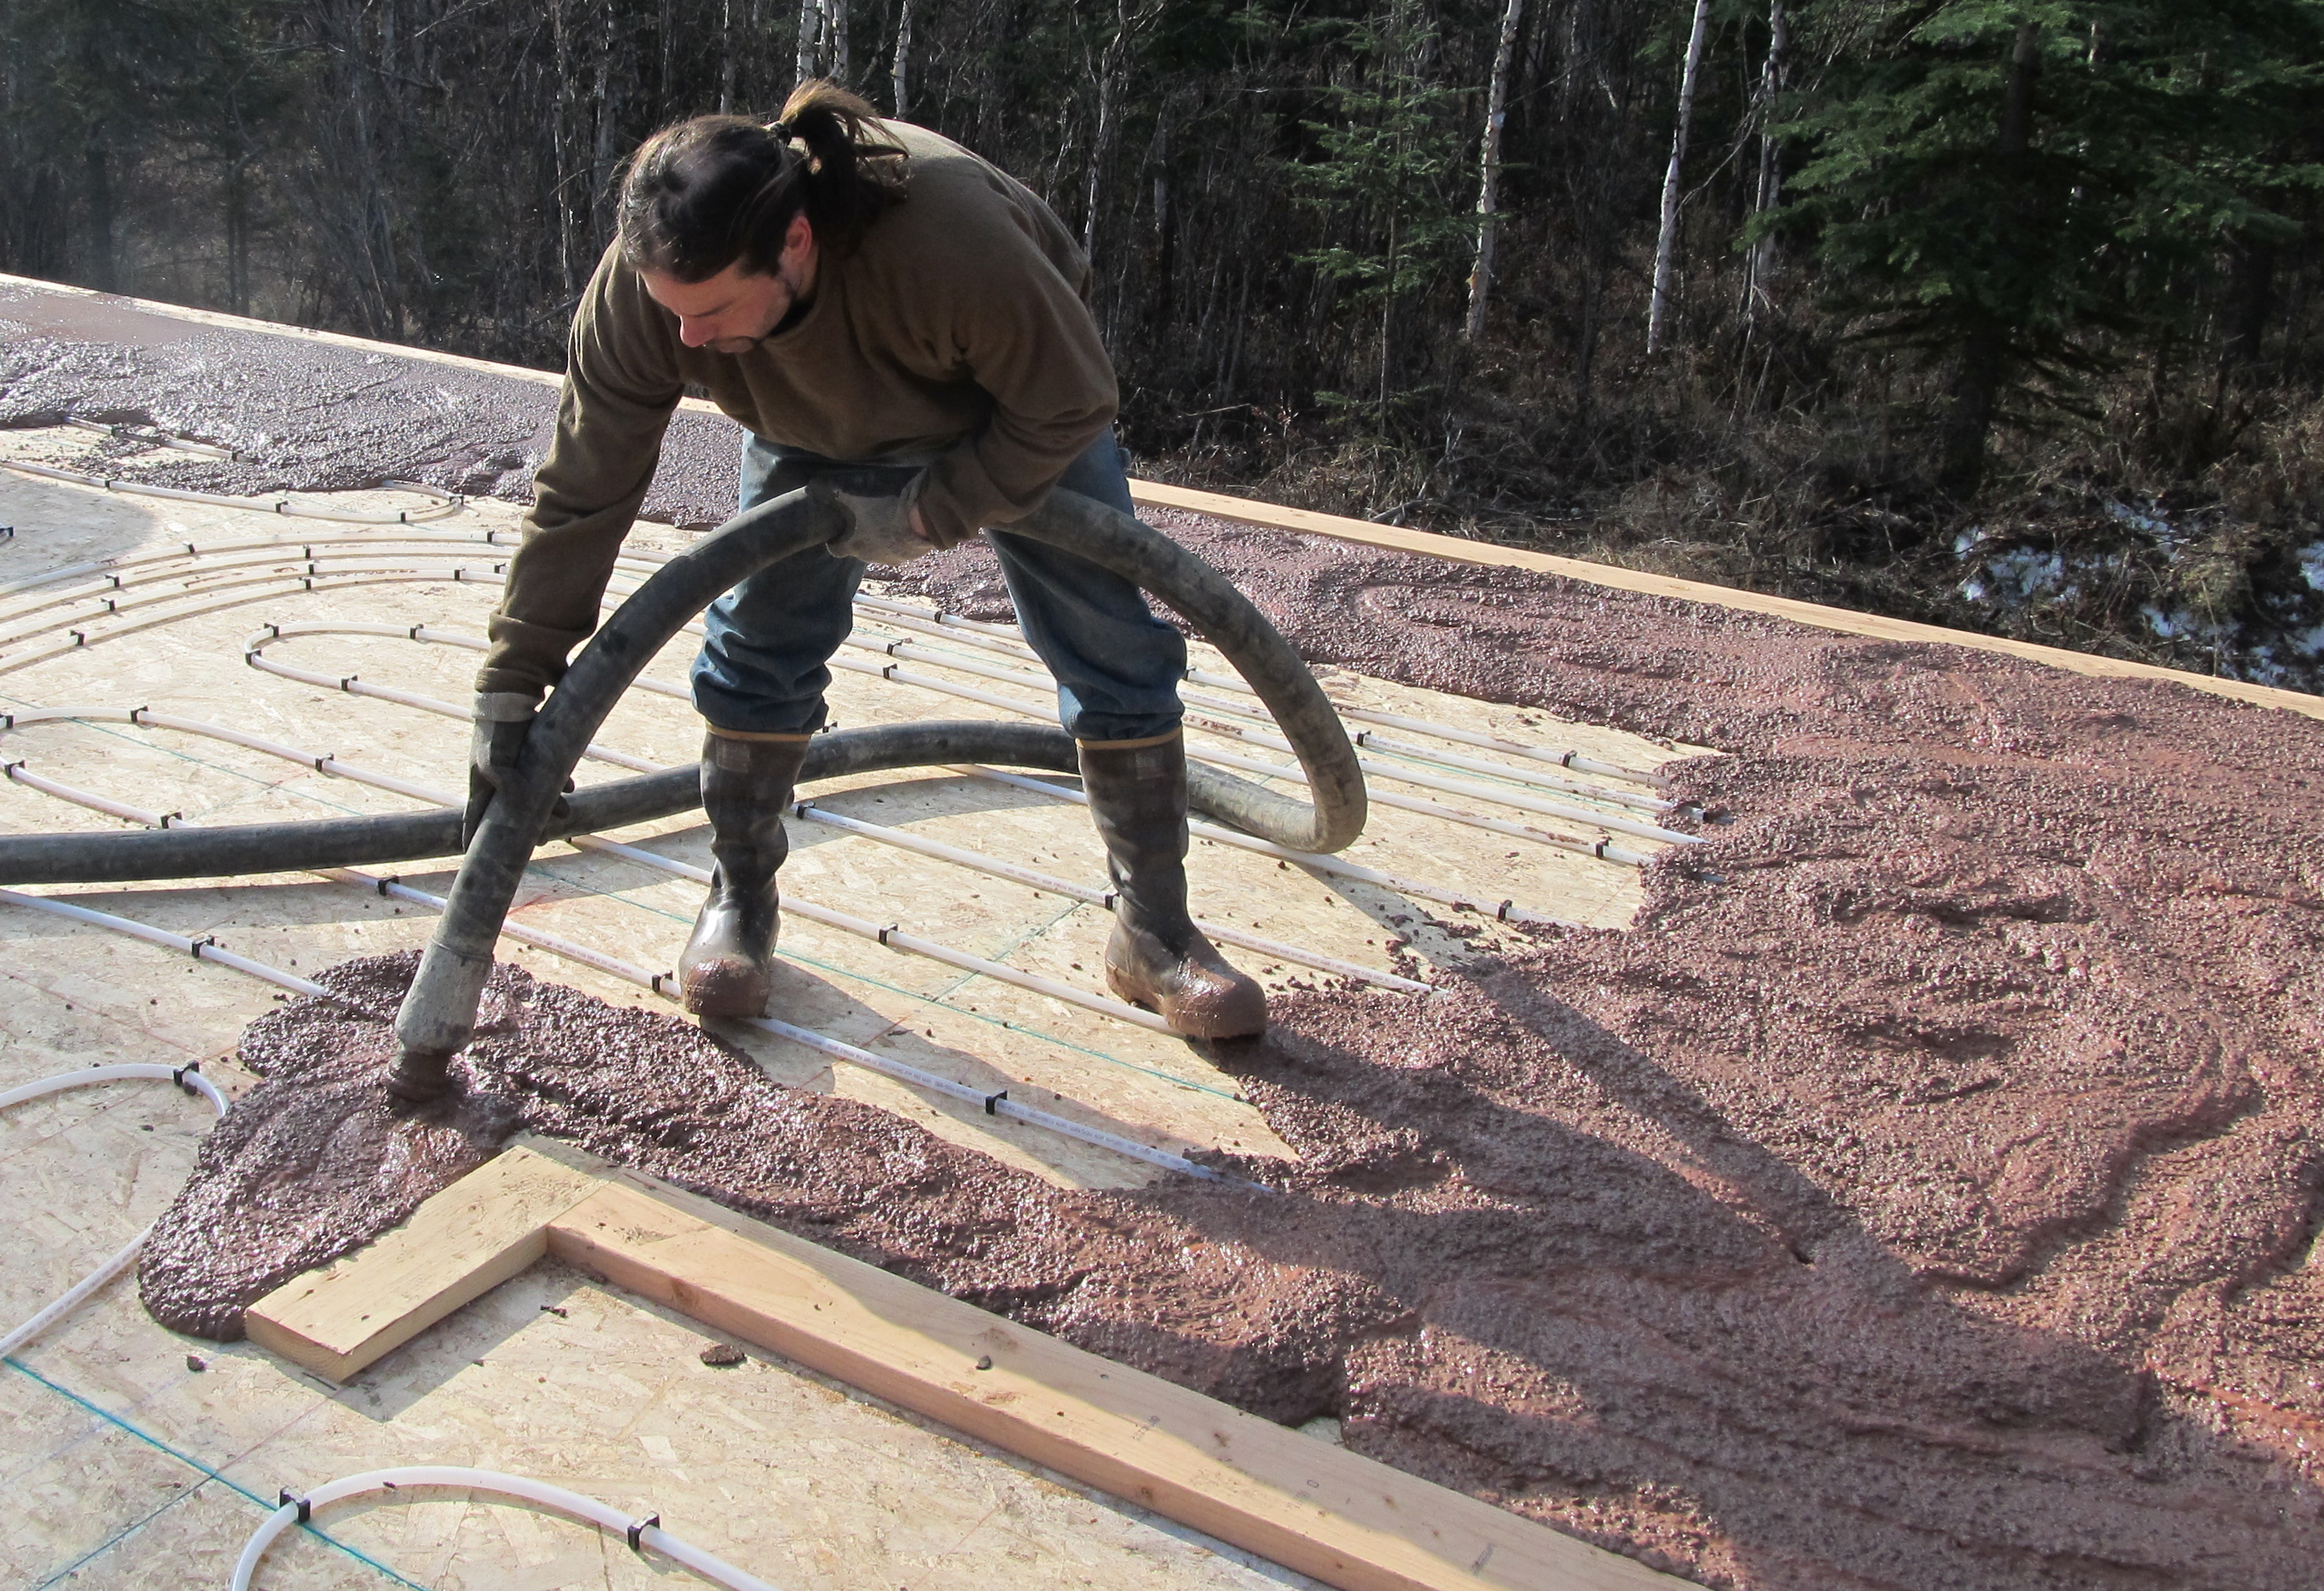
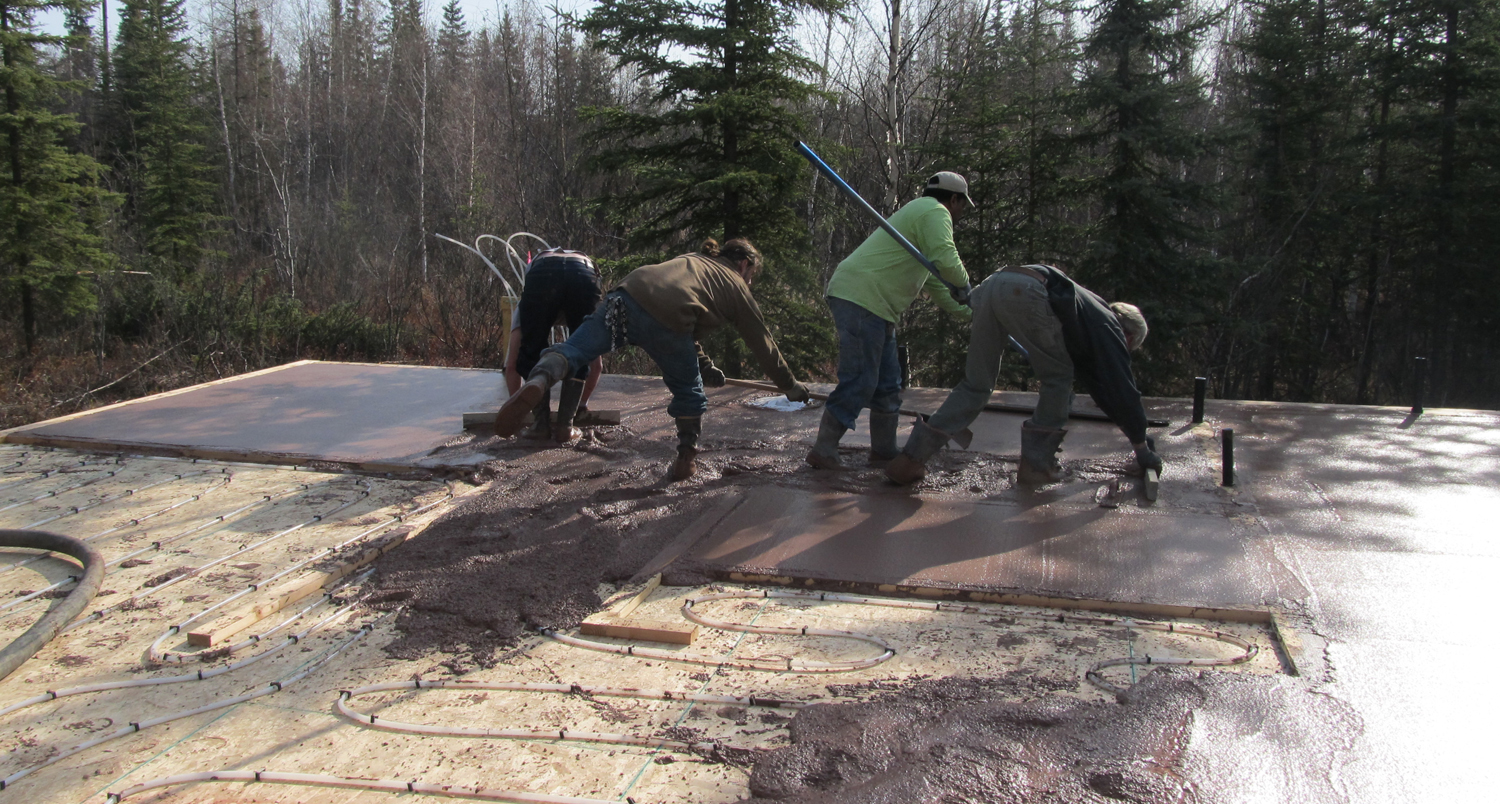
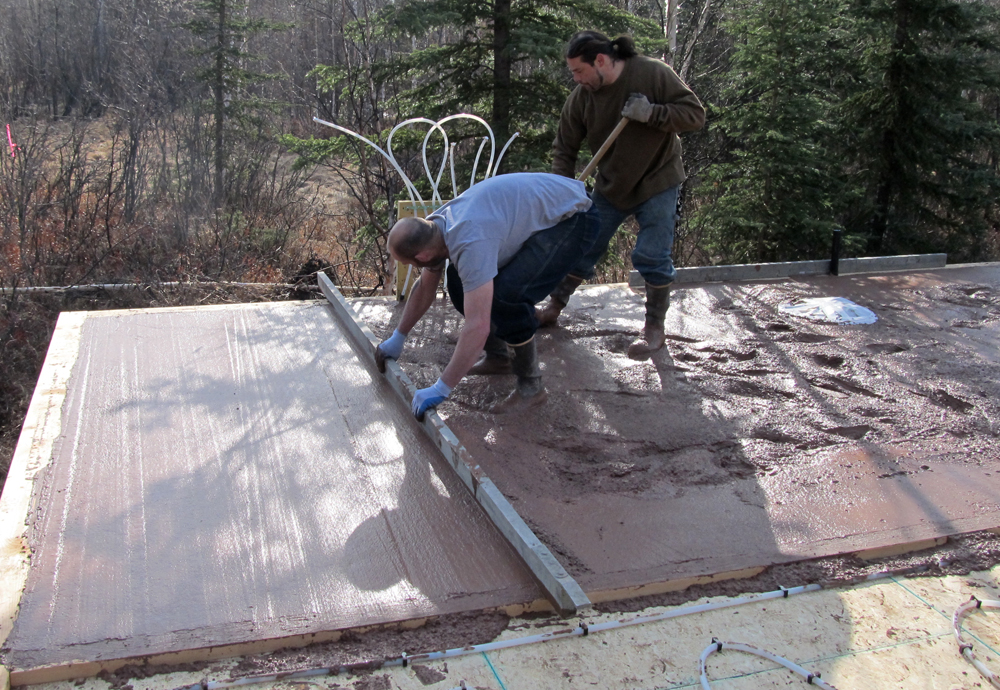
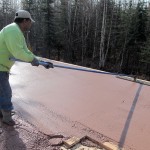
The beginning of the week was cold with scattered showers, so the concrete contractors waited until Thursday and Friday to pour slabs. The process took about two hours—the mixing truck and the pumping truck showed up and one of the guys poured the coloring (Santa Fe) into the mix. Then five guys worked together on the floor, spreading the “mud” from a rubber hose, moving it around with “mud sticks,” leveling the slab with a screed (or flat board), and smoothing and sealing it with a bull float (a long-handled tool with an aluminum float). Once the slab set up a bit, they went over it with a trowel (a flat, metal-bladed hand tool), which gets rid of any bumps and gives it a smooth finish. The slab is 1.5 inches with a pretty adobe color.
The crew is currently framing the second story. Next week students begin helping out on site.
-
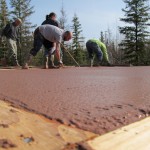
- pouring the concrete slab for the southeast home
-
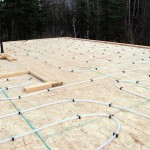
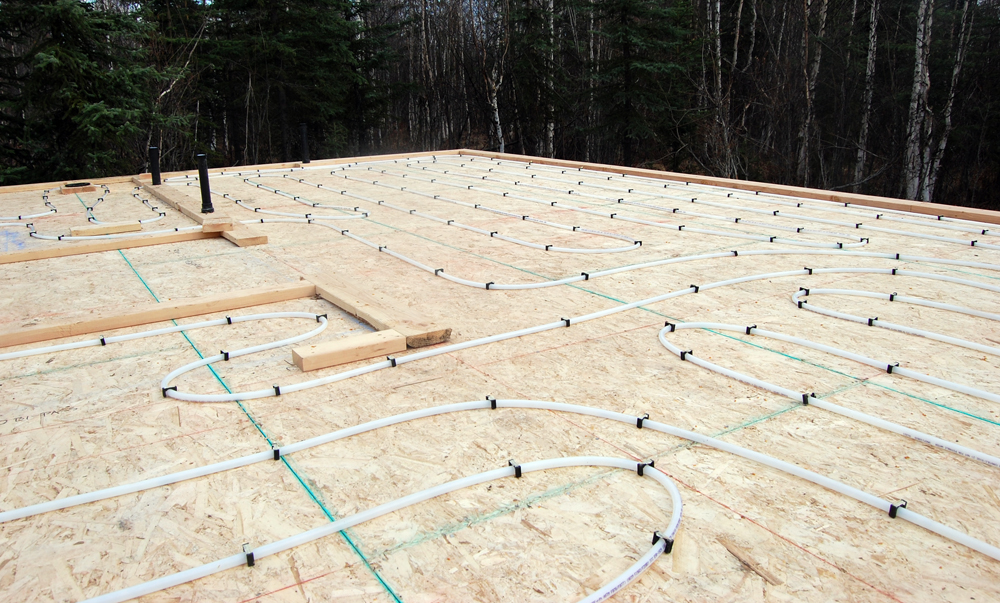
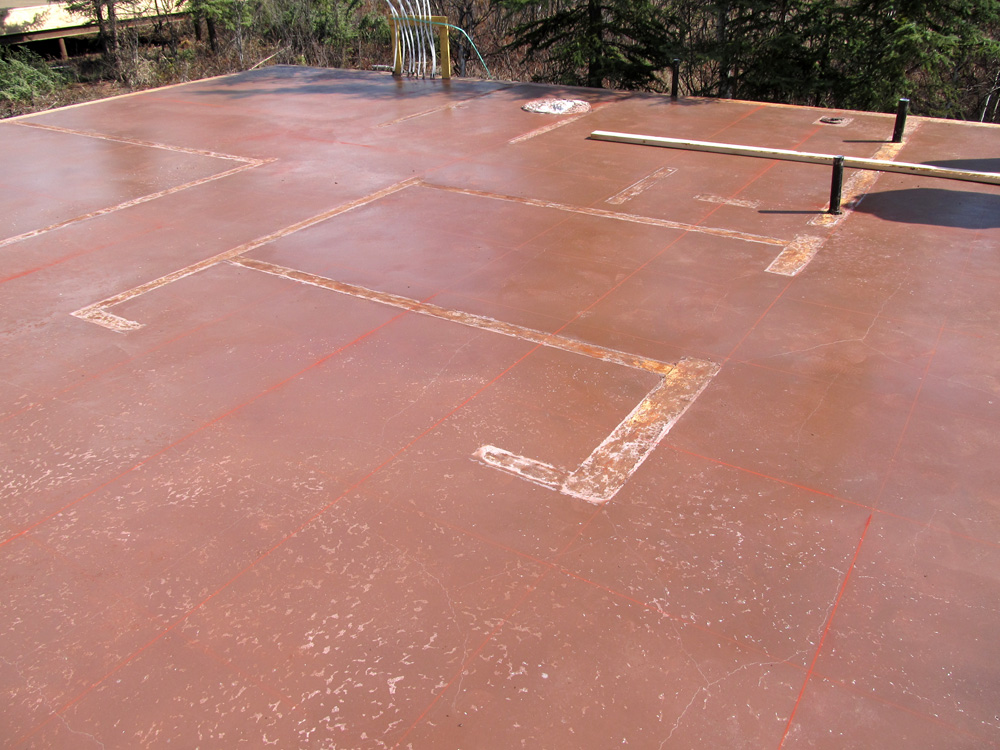
- radiant tubing within the concrete slab
-
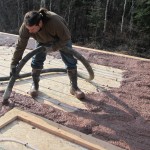
- spreading the “mud”
-
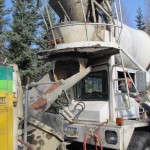
- mixing truck pours cement into concrete pump
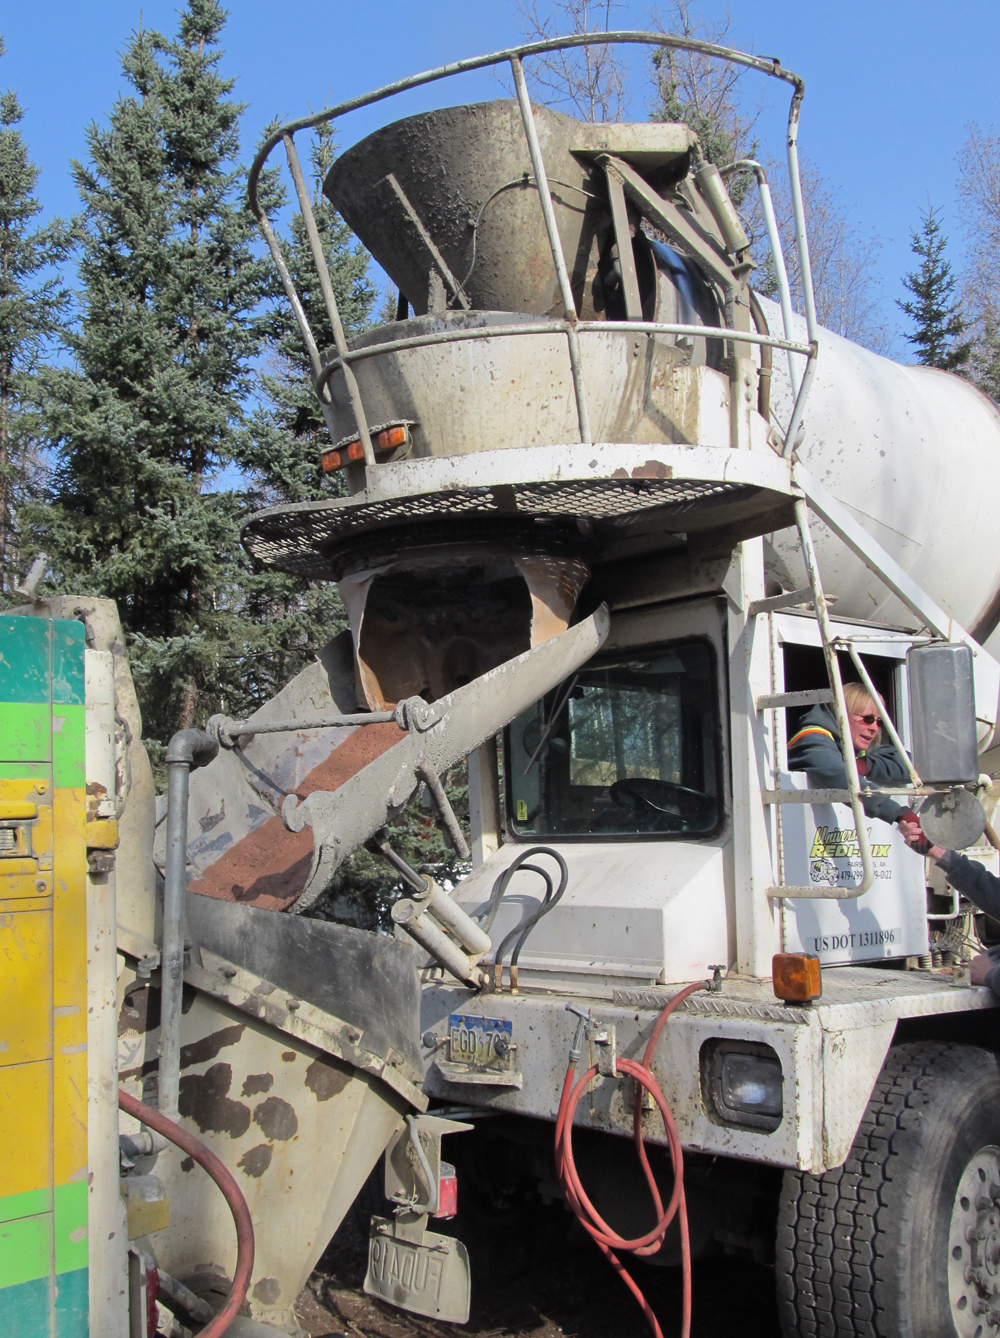
-

- pouring cement-a team operation!
-
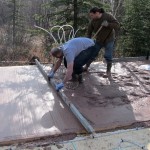
- screeding, or leveling, the slab
-
- bull floating, or pushing the gravel to the bottom and the “cream” to the top

-

- smoothing and sealing the edges of the slab

-
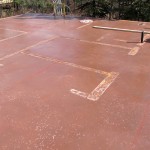
- slab after 24 hours
Sustainable Village: Week 3 Timelapse
During Week 3, we built floors for the two homes on pilings and laid radiant floor tubing. The homes will have concrete slabs and and about 10 inches of under-floor spray foam insulation.
Spray Foaming the Foundations
Two of the homes will have insulated raft foundations. This allows the house to rest directly on the ground, keeping the floor warmer than if it were elevated on piles. A thick mat of spray foam is designed to prevent heat loss from affecting the frozen ground, and a cooling system was also installed in the gravel pad to chill the soils if needed.