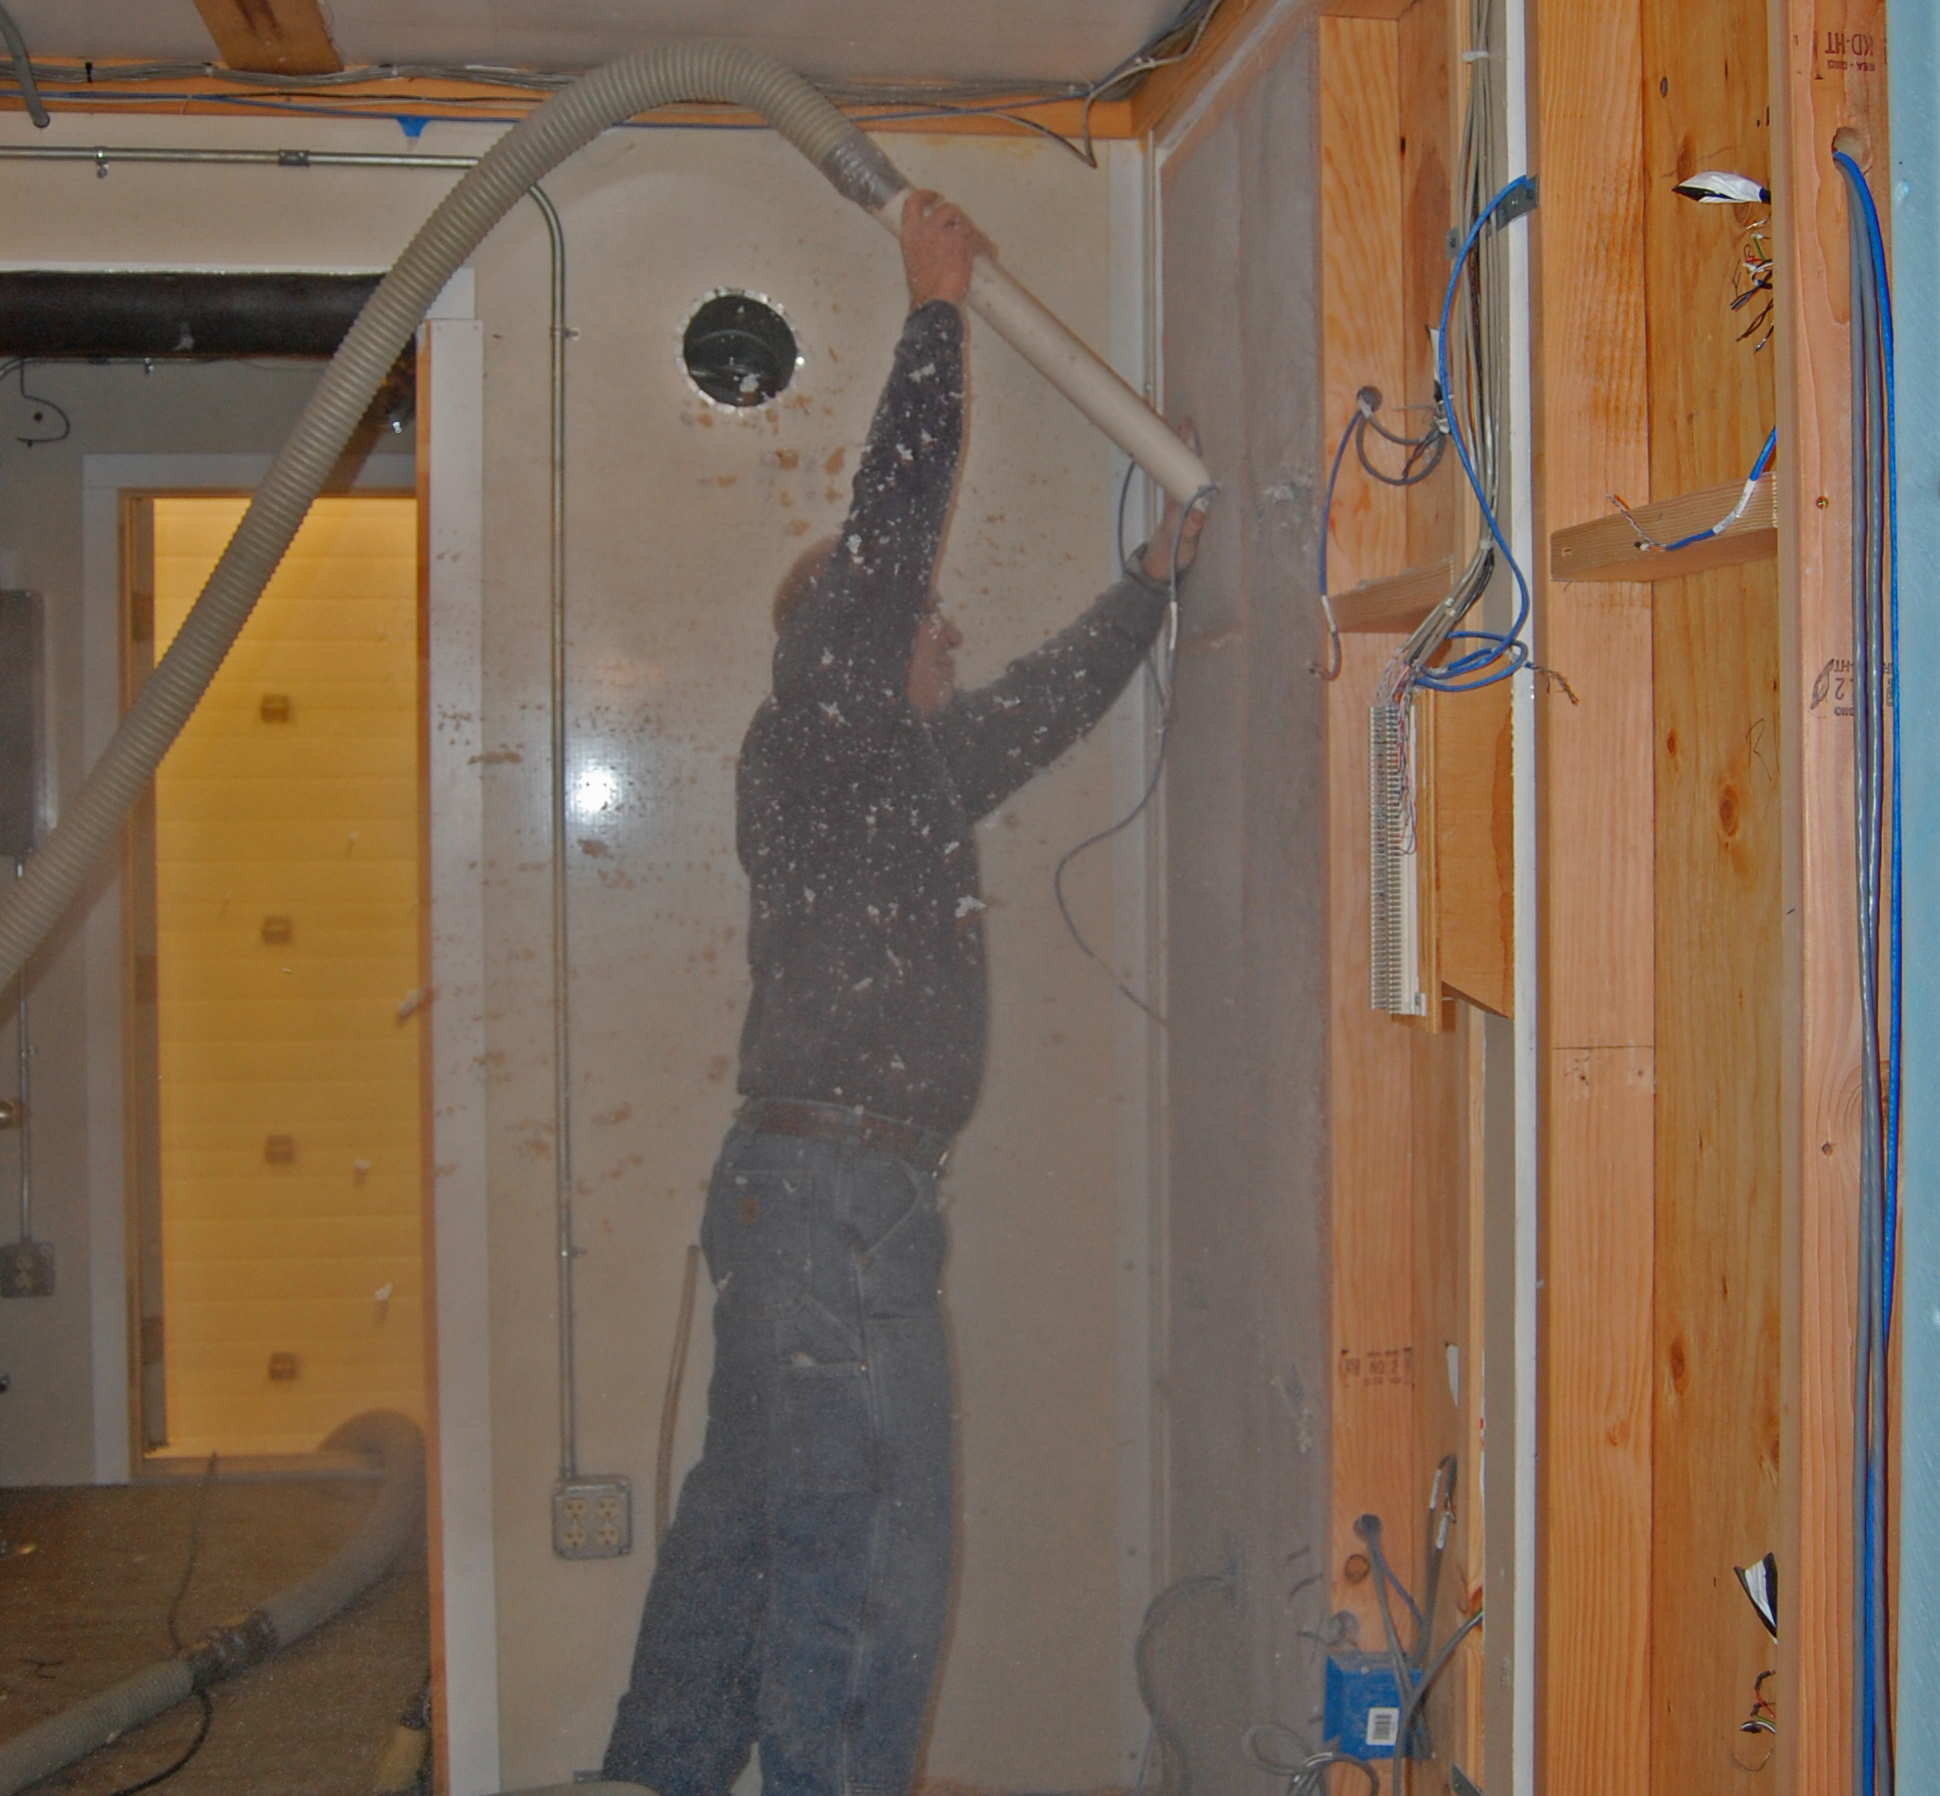
Blowing dense-pack cellulose insulation into the test walls.
Building envelopes have a hard job in Interior Alaska—keeping us warm, dry and healthy at 40-below. CCHRC tests a variety of building designs and products to see how they can be applied in this environment. We recently studied the moisture performance of cellulose insulation to see how it compared to other common types, like fiberglass and rigid foam, and how it performed in a super-insulated house.
First, let’s look at a conventional wood-framed wall with 2×6 or 2×4 studs and an interior vapor barrier. This system has historically worked in the Interior because the vapor barrier limits the moisture allowed into the walls and moisture that does sneak in remains frozen through most of the winter. During the spring, the walls thaw and dry to the outside.
But when you add exterior foam insulation to a house, a common retrofit technique to save energy, the walls can no longer dry to the outside. Is this good or bad for the wall? Depends on how much you add. If you add enough exterior insulation (for example, six inches of EPS foam for a 2×4 wall) the sheathing and framing will stay warm enough to avoid condensation, improving your overall moisture control. If you don’t add enough, however, you move your wall sheathing into the danger zone—above freezing and very humid.
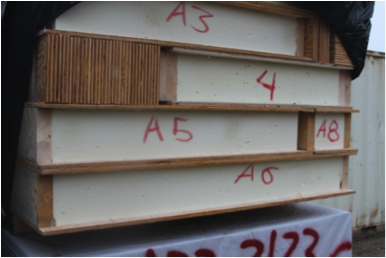
We’ve learned from earlier studies how to use fiberglass and EPS and XPS foam in various wall systems to improve energy efficiency while avoiding moisture problems (See cchrc.org/safe-effective-exterior-insulation-retrofits). This latest study looked at how cellulose performed in different wall scenarios over an 18-month period. These were not standard walls—they intentionally lacked a vapor barrier because we wanted to force moisture into the walls.
Cellulose insulation is made primarily of recycled paper. As a local, rather inexpensive product, it has recently become more popular in building in Interior Alaska. “Dense-pack” cellulose is blown into a wall to a density of 3.2 pounds force per cubic foot, which is designed to prevent the insulation from settling over time. Dense-pack cellulose has an R-value (or insulation value) of 3.7 per inch—slightly higher than fiberglass batts and slightly lower than EPS foam.
Our study shows that cellulose can handle moisture better than fiberglass or EPS insulation when used properly. The test wall that used cellulose as both interior and exterior insulation maintained lower humidity levels (and was less likely to condense or grow mold) than the test wall that used interior fiberglass and exterior foam.
That can be partly attributed to material properties of cellulose. Dense-pack cellulose is actually less permeable to air flow than fiberglass batts. So when used as interior insulation, it reduces the amount of moisture that migrates into the stud cavity.
Cellulose also has the ability to absorb and release water vapor, allowing it to moderate moisture levels within a wall and prevent the large spikes in relative humidity that cause moisture damage.
It’s also more permeable to water vapor than EPS or XPS. The test wall with exterior cellulose had lower humidity levels than the wall with exterior foam, because it allows faster drying to the outside.
Based on this study, dense-pack cellulose can provide a good option for exterior insulation beyond rigid foam board. In future studies we plan to look at the minimum amount of exterior cellulose needed to keep the sheathing warm and dry.