Tag Archives: building

What are Vacuum Insulated Panels?

Vacuum insulated panels, or VIPs, are a relatively new product making their way into buildings in the United States.

They can be used as stud cavity insulation or as continuous exterior insulation on structures, just like other types of insulation.

As the name describes, VIPs consist of a panel with the air inside of it removed to form a vacuum. It isn’t a perfect vacuum, but the air pressure inside the VIP is considerably less than ambient pressure. The panels are airtight and resistant to water vapor absorption. They make good insulators because the lack of air almost completely eliminates conductive and convective heat transfer through the center of the panels. Typical panels are fairly small, 1 x 2 feet or 2 x 4 feet, and about 1 inch thick.

VIPs have an R-value of approximately R-25 per inch at the center of the panel and about R-20 for the whole panel (exact R-value depends on the manufacturing process and materials). The center of the panel will have a higher R-value than the edges, much like a window, as edges provide a thermal bridge for conductive heat transfer and lower the R-value of the entire panel. Even the whole-panel R-value is considerably higher than other insulations: fiberglass batts are around R-3.8 per inch, EPS is around R-4 per inch, and XPS is around R-5 per inch.

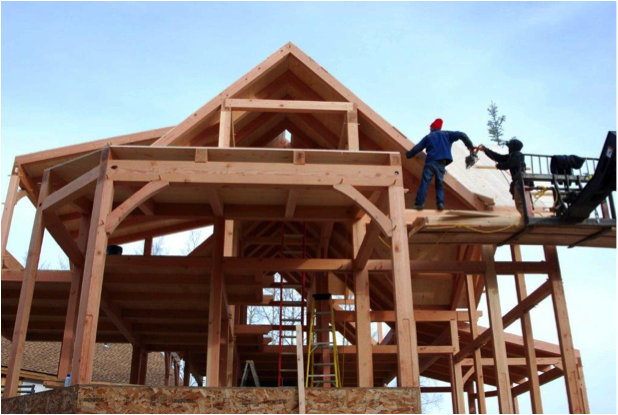
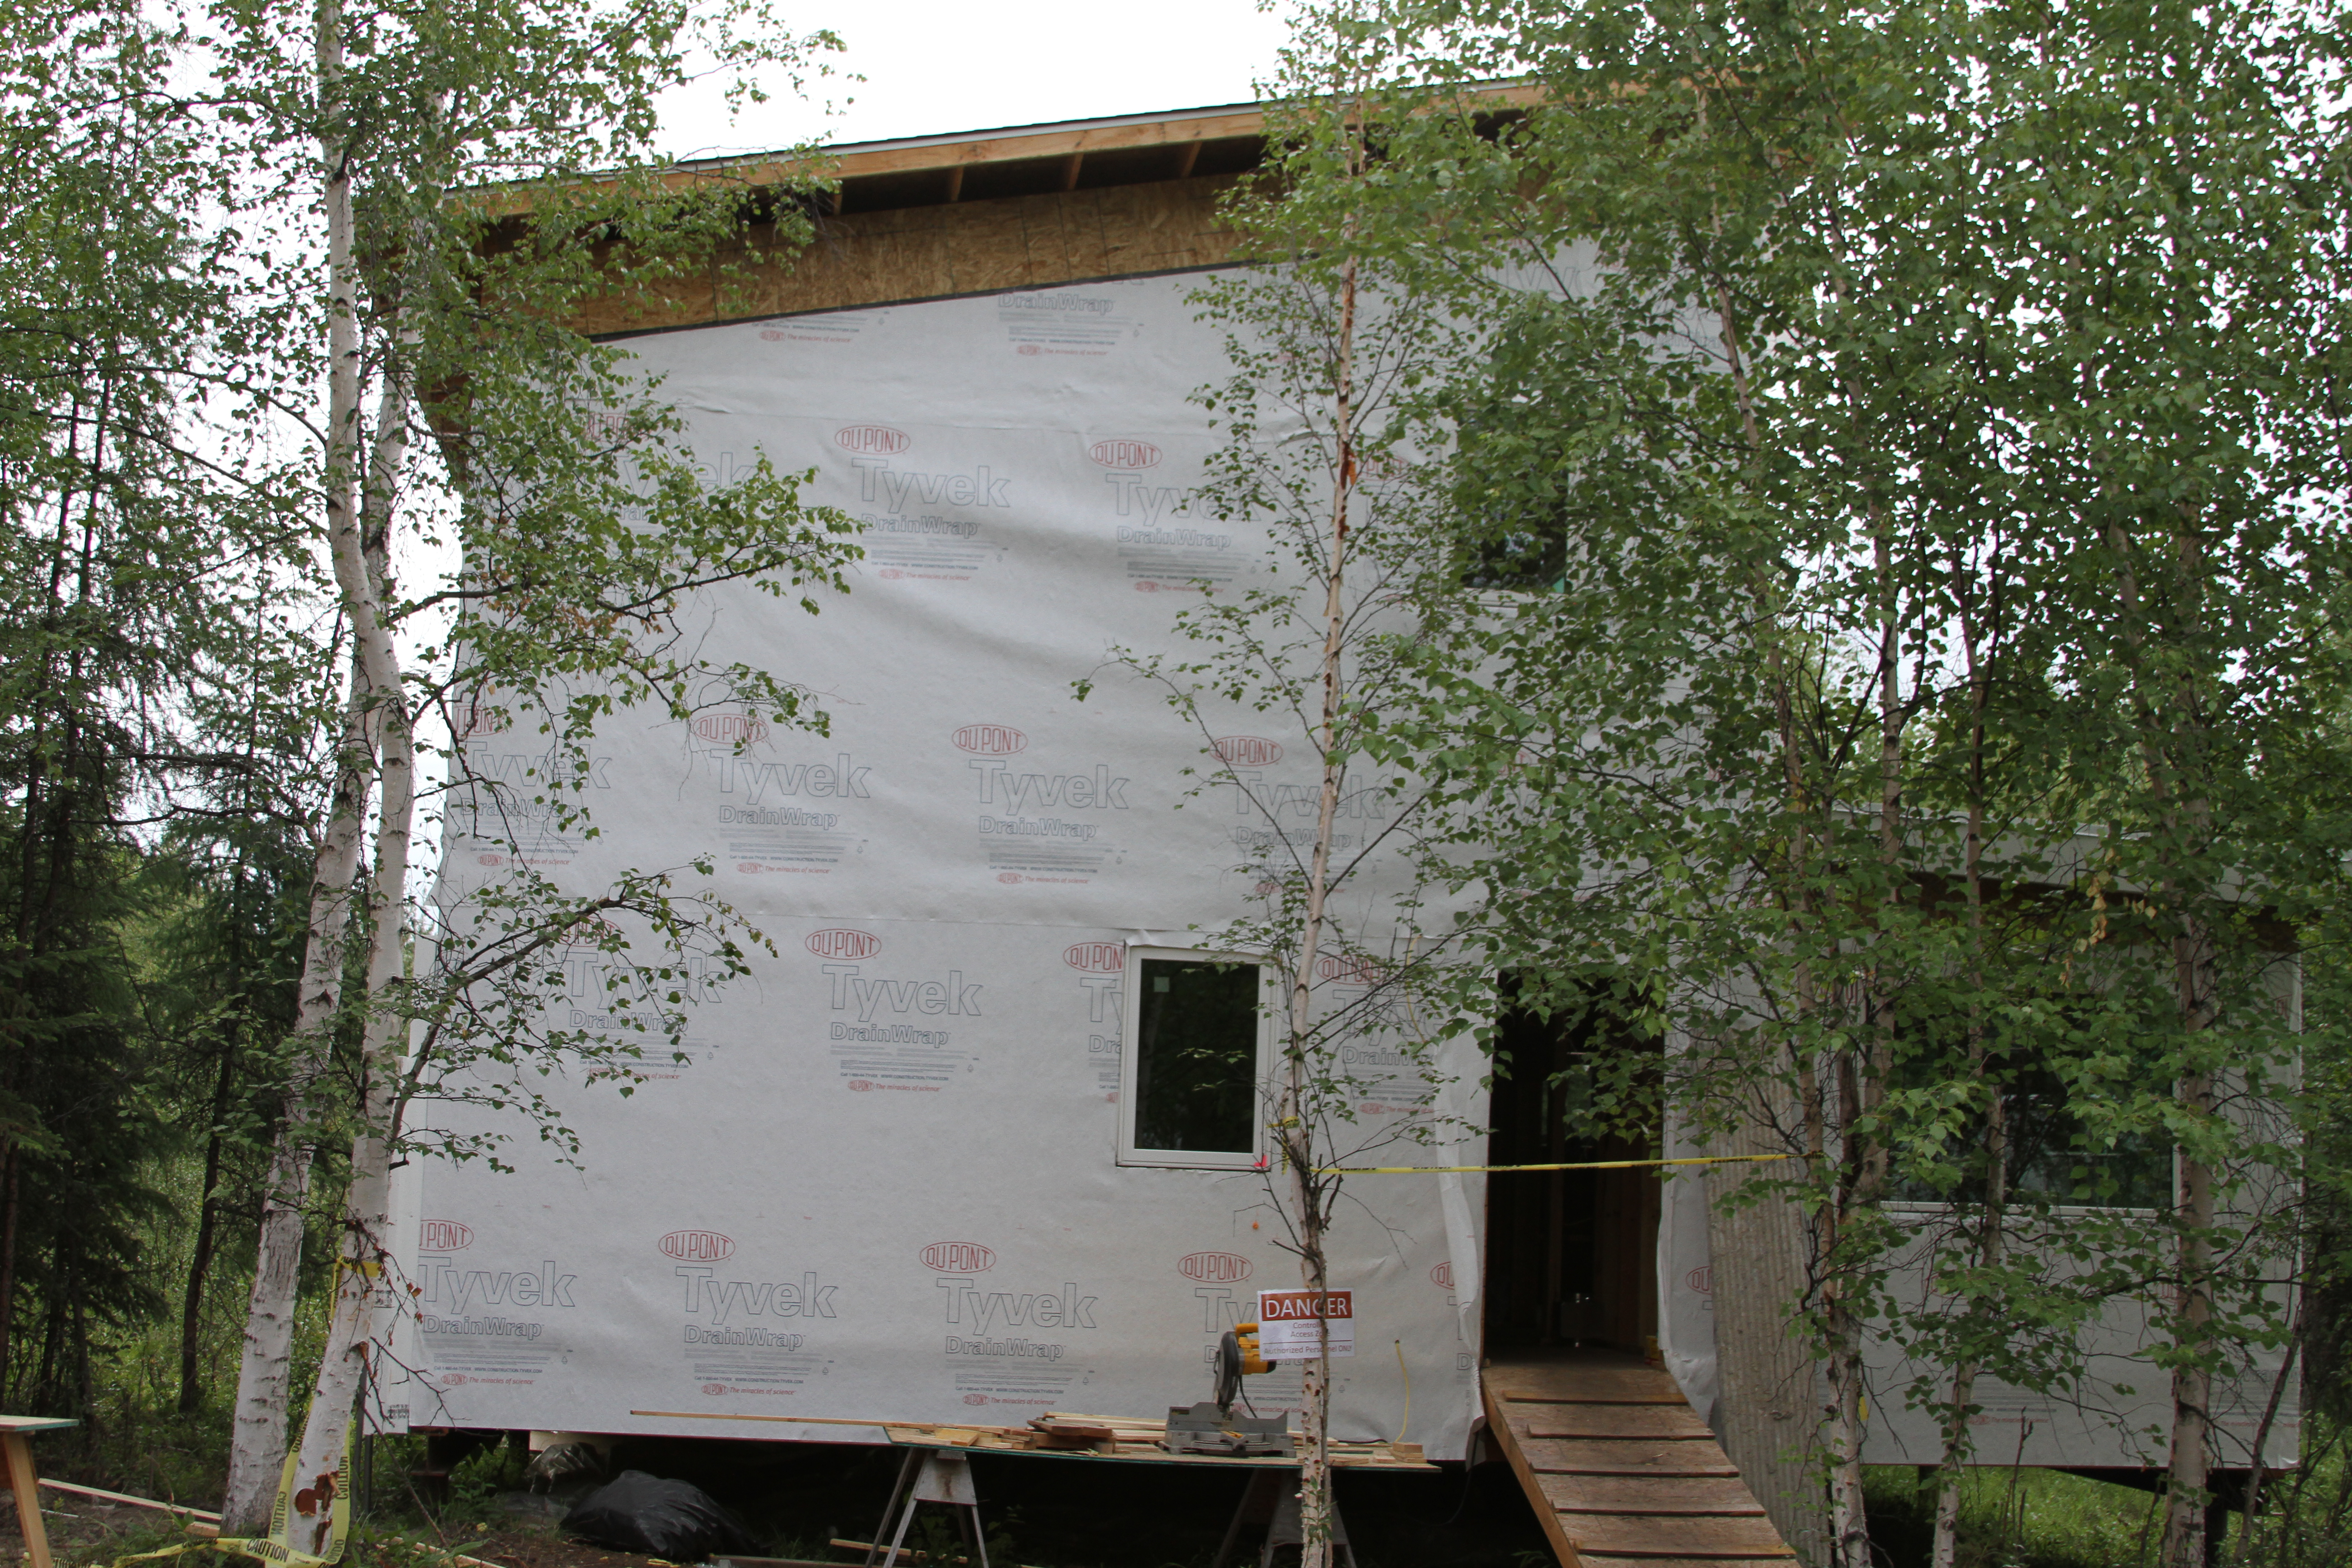
VIPs are installed on the sheathing plane of a building using adhesive. The material surrounding the VIPs in a wall is very important, because it helps protect the VIP from damage during installation. However, because the VIP is not continuous, the lower R-value surrounding insulation will bring the total wall R-value down. This is similar to what happens in a traditional stud-framed wall with fiberglass batts in the cavities — the wooden studs provide a thermal bridge for heat to escape and reduce the total wall R-value. With VIPs, even if the “studs” were made of EPS insulation, the whole wall R-value will still drop more than the fiberglass wall drops with the addition of wooden studs. It is important to consider how to provide structure for VIPs without providing too much thermal bridging.

As with any new building product, there are potential disadvantages of using VIPs that must be considered. First, VIPs must be manufactured in a factory and then shipped to the building site.

They can’t be cut or modified in the field. This means that detailed plans must be completed prior to construction and there is no flexibility in modifying them, unlike a traditional stick-framed wall.

VIPs also cost quite a bit more than other types of insulation. In addition to the more intensive manufacturing process, the panels have to be shipped to the building location.

There are currently only a few manufacturers in the United States, so this could be quite a long distance.

Finally, panels will naturally lose some vacuum over time. When they do, the R-value drops substantially. Manufacturers currently estimate the lifespan of the vacuum at 25 to 50 years. The seals must be treated carefully during the shipping and installation process to protect the vacuum. And putting a nail through a VIP damages the R-value of the panel much more than with other types of insulation. Losing the panel vacuum due to a hole in the panel reduces the panel’s R-value by more than half, often bringing it down to around R-6 per inch.

VIPs in Alaska

VIPs have a number of applications throughout the world, including refrigeration equipment, vending machines, shipping containers and construction. A few companies are manufacturing them in the United States, including Nanopore and Dow Corning. The new engineering building at the University of Alaska Fairbanks will use Dow Corning VIPs in a test wall system, which consist of fumed silica (basically glass powder) wrapped in a layer of plastic and aluminum. In effect, the plan is to replace some EPS foam in the wall system with a small vacuum panel. UAF researchers are planning to measure the installed R-value of the panel to study its appropriateness for buildings in our climate.

What is Timber Frame Construction

Photo Courtesy Dave Miller

Photo Courtesy Dave Miller

Timber frame homes are characterized by large structural wooden beams visible throughout the interior. Timber-frame construction techniques have been in use for hundreds of years throughout the world, initially brought to North America by European settlers.

The skilled craft of timber framing remained common practice until the early 19th century, at which point both milling and construction methods shifted to machines and mass production. Advances in technology, such as large powered circular saws, enabled mills to quickly produce large quantities of smaller dimensional lumber, which could be more easily transported. In turn, mass produced smaller framing members made it possible to erect a home with only a small team of builders using “stick frame” construction techniques that remain relatively unchanged to this day.

While timber frame construction is still in use, it has evolved from the purely practical construction technique that it once was. Originally, timber framing was primarily structural, however in today’s homes, timber frame construction is also used to showcase the aesthetics of the timber frame substructure, since it remains exposed towards the home’s interior.

Many different tree species can be used for a timber frame, including Douglas fir, Sitka spruce, Eastern white pine, red cedar, oak and Interior Alaska white spruce. The trees are handcrafted or milled into large beams.

In the United States, there are several suppliers who cut custom beams according to a computer-aided design plan sent to them by a builder.

At the building site, the beams are assembled into a structural frame that is fastened together with a combination of carefully fitted interlocking wood joints and wooden pegs and splines. In a traditional timber frame, metal connectors of any kind are seldom used. A completed frame will contain combinations of dozens of types of joinery that make it unique.

For instance, some substructures are built like wooden furniture, where the connecting beams use mortise and tenon joinery, a process through which two beams are cut so that one has a square or rectangle opening (the mortise) into which the other beam (the tenon) fits exactly.

Usually, joints of this type are held together with exposed wedges or pegs and have the additional benefit of great strength. (A similar construction technique, post-and-beam, uses metal braces and bolts to connect beams.)

After the timber frame substructure is erected, it is enclosed, often using structurally insulated panels (SIPS), to complete the home’s envelope. Most timber frames homes have open interior designs to showcase their exposed architecture. Plus, interior walls are not needed for structural purposes.

Timber frame homes come in all sizes, from small cabins to expansive homes. While timber frame construction tends to cost more than traditional stick-frame construction, the extra planning, materials, and labor results in a truly unique and durable home.

Today, timber frame construction fills both a practical and artistic role in the building community by crafting a home that is both a shelter and a work of art.

New videos on mitigating radon in your home

How to mitigate radon in new construction

The hilly areas containing fractured schist and rock around Fairbanks are known for having high concentrations of radon. A good radon mitigation system will ensure healthy indoor air quality. Your single best chance at dealing with radon issues is during new construction.

In this video, Ilya Benesch, building educator at the Cold Climate Housing Research Center, demonstrates the essential steps of installing a radon mitigation system for a slab-on-grade foundation.

The video follows EPA guidelines for installing radon mitigation systems found here:

http://www.epa.gov/radon/pdfs/buildradonout.pdf


Examining a radon mitigation system

In this video, Ilya Benesch visits a construction site and explores how the contractor has installed a radon mitigation system.


The project was funded by the University of Alaska Fairbanks Cooperative Extension Service. For more information about radon, visit: www.uaf.edu/ces/energy/radon.


Vapor Barriers and House Wraps: where and why?

House wraps must stop bulk water from entering on the cold side and also be permeable enough to allow water vapor to pass through from the warm side.

House wraps must stop bulk water from entering on the cold side and also be permeable enough to allow water vapor to pass through from the warm side.

The building envelope is defined as those parts of a house that keep the indoor and outdoor environments separate. The building envelope includes the exterior walls, roof, windows, doors and the foundation and/or ground floor.

As elements of the building envelope, vapor barriers and house wraps are a critical part of controlling moisture and air flow through your home.

If selected and installed properly, these products can help you conserve energy, prevent mold growth and maintain the structural integrity of your home. On the flip side, not using these products or using one incorrectly can have the opposite effect.

Vapor barriers on the warm side

A vapor barrier, also known as a vapor retarder, is a layer of material designed to slow or nearly block the movement of water vapor by diffusion. How much a vapor retarder impedes the movement of water vapor is referred to as its permeability rating, or “perm” rating.  Six-mil-thick (0.006 inch) plastic sheeting is a typical vapor retarder material prescribed by residential building codes in cold climates, as its perm rating is extremely low.

In standard cold climate frame construction, the plastic vapor retarder is located on the warm-in-winter side of the wall — typically it is applied over the studs directly behind the drywall.

All homes contain moisture inside — cooking, bathing, breathing all create water vapor. In winter time the challenge then becomes keeping this water vapor from reaching places in the building envelope where it can condense.

Ventilation, which is essential to exchange moisture-laden air with clean, dry air, helps reduce the quantity of moisture in a tight home, but not enough to eliminate the need for a vapor retarder.

Where it gets interesting is that 98 percent of water vapor in a home travels by air leakage, while only the remainder moves by diffusion — through solid materials such as the drywall and sheathing in your walls. So, with proper sealing around penetrations and by sealing overlapping layers, we can also rely on the plastic vapor retarder to serve as an air barrier.

House wraps on the cold side

House wraps, on the other hand, are primarily designed to cope with the elements on the outside. They must be permeable enough to allow water vapor to pass through them from the warm side, but still stop bulk water like rain from entering on the cold side — similar to a Gore-Tex jacket.

By nature, house wraps must be vapor permeable enough to allow for drying if moisture finds its way into the wall cavity from either the inside or the outside. In addition, house wraps can help minimize the movement of air in and out of the exterior walls. Air movement through the building envelope in an uncontrolled manner, means you’re losing heat, which can become a burden on your budget.

To effectively repel water and reduce airflow, house wraps must be detailed correctly and applied using the manufacturer’s recommended methods and adhesives. All the penetrations into your walls from the exterior, such as vents, electrical connections, and architectural features, must be carefully accounted for.

The right types of house wraps can perform an important job in windy places by stemming significant heat loss and keeping the framing protected from precipitation that gets past the siding.

Final thoughts

The placement and permeability of vapor barriers and house wraps are addressed by building codes, but vary by region. Vapor barriers are required on the warm-in-winter side of the exterior walls in Fairbanks.

This article only touches on the details required to choose and install vapor barriers and house wraps. Placement and water vapor permeability can be a fairly complicated issue because of the wide variety of products on the market today.

You can find resources at CCHRC, the University of Alaska Fairbanks Cooperative Extension Service, and your local building department to help you make the right decisions. Doing your research up front will help maximize home performance and prevent problems later.

What should I be aware of when building on permafrost?

If pilings are used on permafrost, they must be installed to a depth that will both support the structure and resist frost jacking due to seasonal ground movement.

Permafrost is loosely defined as soil and/or rock that remains frozen for more than two years. In the Fairbanks area, permafrost tends to be discontinuous and is concentrated primarily on north-sloping hills and in lower elevations with heavy ground cover. Big trees do not guarantee the absence of permafrost; it might just mean that permanently frozen ground or ice is down far enough that the soils in that spot can support a larger root system. The only way to be certain of what the ground contains is to have a soils test drilling done.

With permafrost, the safest bet is to it avoid it altogether and move to another piece of land. This is easier said than done, particularly because of the scarcity of buildable land near Fairbanks that is affordable. If you decide to build on permafrost, be as strategic as possible. Smaller and simpler structures will tend to fare better than larger, more complicated ones.

Minimal site disturbance is the accepted practice. The trees and the ground cover are your best friend. They protect and insulate the ground from the heat of the summer. A great example is the green moss you find on many of the shaded low-level areas in Fairbanks. Moss has a high insulating value, and in many cases if you dig down a couple of feet, the ground might still be frozen in the middle of summer.

Strategies for construction on permafrost include:

• As a general rule, the organic layer of ground cover provides insulation and should not be removed, as this will increase the risk of thawing any frozen ground underneath.

• Elevate and properly insulate the bottom of your house to prevent heat losses through the floor system from reaching the ground underneath, which can lead to thawing.

• In post and pad construction, use a thick gravel pad that is significantly wider than the house itself (also insulated if possible) to stabilize the ground and spread building loads.

• If wood or steel piles or helical piers are used, they must be installed to a depth that will both support the structure and resist frost jacking from seasonal ground movement.

• Cut trees sparingly to maximize site shading (while permitting for a fire break).

• Build a wrap-around porch, which will help shade the ground around and underneath the house.

• Incorporate large roof overhangs to shed water away from the house and provide shade.

• Install gutters and manage site drainage well away from the house.

• Retain an engineer familiar with local soils conditions to assist in designing a foundation system that will adequately and safely support your home on the soils specific to your site.

• Septic systems also must be engineered to function on permafrost, and remember that conventional systems might risk thawing the ground.


Other Resources 


Permafrost Technology Foundation case studies: http://www.cchrc.org/permafrost-technology-foundation-library

U.S. Permafrost Association website: www.uspermafrost.org/education/PEEP/ptf-manuals.shtml

UAF Cooperative Extension Service online publications at www.uaf.edu/ces.


Sustainable Village Week 9

During Week 9, we installed ceiling vapor barriers, continued plumbing and wiring work, and started working on the electrical hook-up for the homes. After heavy rain over the weekend, and the ground is still frozen a few feet down, the site was temporarily transformed into a mud pit. This made it interesting to navigate heavy equipment and dig a trench for the power line. Nevertheless, we will have electricity by the end of the week!

Vapor Barriers & House Wraps: Where and Why

House wraps, such as Tyvek, are permeable enough to allow water vapor through but will stop bulk water like rain.

Vapor barriers and house wraps are a critical part of controlling moisture and air flow in and around your home. Working in conjunction with your walls, floor, and roof, the right type and application of these products will help you to conserve energy, prevent mold growth, and maintain the structural integrity of your home. Not using these products or using one incorrectly can wreak havoc.


Vapor Barriers
A vapor barrier, also known as a vapor diffusion retarder, is a layer of material designed to slow or nearly block the movement of water vapor. How much a vapor barrier impedes the movement of water is referred to as its permeability rating or, for short, “perm” rating. So it’s a bit misleading to use the term vapor barrier because many materials in this category do allow some moisture through. 6 mil thick plastic sheeting is a typical vapor barrier material prescribed by codes in extreme cold climates, as it’s perm rating is extremely low.

All homes generate moisture indoors. Cooking, bathing, breathing – all these activities create water vapor. Ventilation, which is essential to exchange moisture-laden air with clean dry air, helps to reduce the quantity of moisture in your home, but not enough to eliminate the need for a vapor barrier. Without a barrier, moisture can penetrate your walls and roof spaces.

Approximately 98 percent of water vapor in a home travels by air, but the remainder moves by diffusion – through solid materials such as the studs in your walls. When these materials become cold in winter, condensation forms and can trigger mold growth and other problems. The extreme air pressure and temperatures differences that occur in Fairbanks in winter exacerbate condensation problems. And, in the case of modern construction, tight building envelopes can serve to concentrate moisture problems in the absence of adequate ventilation.

House Wraps
House wraps, on the other hand, are designed to be permeable enough to allow water vapor to pass through them, but will stop bulk water like rain from passing through – sort of like Gortex in clothing. In addition, house wraps can help minimize the movement of air in and out of the exterior walls. Losing air from a house in an uncontrolled manner means that you are losing heat. This loss amounts to extra fuel costs and can become a burden on your budget.

To effectively repel water and reduce airflow, house wraps must be detailed correctly and applied using the manufacturer’s recommended methods and adhesives. All those protrusions through your walls such as vents, electrical connections, and architectural features must be carefully accounted for. The right types of house wraps can perform an important job in windy places by stemming significant heat loss.
Now comes the tricky part: some house wraps can also serve as vapor barriers and vice versa. Placement and permeability is also a fairly complicated issue. There may be certain cases when house wraps are not necessary, but when used are almost always placed on exterior of a house and over its sheathing.

More
The placement and permeability of vapor barriers and house wraps are addressed by building codes, but vary by region. Vapor barriers are required in Fairbanks. This article only touches on the details required to choose and install vapor barriers and house wraps. You can find resources at the CCHRC and the University of Alaska Fairbanks Cooperative Extension Service to help you make the right decisions. Doing your research up front can save a lot of problems later on.

Spray Foaming the Foundations

Two of the homes will have insulated raft foundations. This allows the house to rest directly on the ground, keeping the floor warmer than if it were elevated on piles. A thick mat of spray foam is designed to prevent heat loss from affecting the frozen ground, and a cooling system was also installed in the gravel pad to chill the soils if needed.

Why look at the Whole Wall R-Value of your wall?

You might think you have R-40 walls, but have you factored in your studs and windows? With the recent emphasis on home retrofits and energy efficiency, many homeowners are defining their walls by R-value.

The whole wall R-value factors in the R-values of the insulated wall, stud, and window.

For instance, if you have 2×6 walls filled with fiberglass batt insulation (R-19), plus drywall and plywood, you probably consider your overall R-value to be R-21. But that only counts the insulated portion of the wall and ignores the weaker parts, such as windows, doors and structural framing (or studs), that provide primary paths for heat to escape. Just as water and electricity seek the path of least resistance, heat flows through the weakest thermal component of the wall assembly.

To see how much studs and windows affect the performance of your wall, CCHRC calculated the “whole wall R-value” for a hypothetical 2×6 house with 11 percent of the wall area taken up by studs (24-inch on center framing) and 15 percent taken up by double-pane windows.  The original R-21 wall is reduced to R-18.3 when you factor in the studs (R-8.8). And the whole wall R-value is further diminished to R-8.2 when you factor in windows with a U-value of 0.5 (standard double-pane windows).

How can this information help you improve the energy efficiency of your home? First, it gives an accurate picture of the overall thermal resistance of your wall. (Though there are many other components of a house that impact efficiency, such as the attic insulation, heating system, and ventilation system.) Second, it reveals the extent to which thermally weak points can counteract stronger points in your wall.

And third, it illuminates retrofitting options, each with their ups and downs. Replacing windows, for example, may achieve a greater whole wall R-value, but it can be pricey. Adding exterior foam, on the other hand, can be a cheaper way to cut heat loss through the insulated wall and the studs. But you must be careful to add the right amount of insulation, and possibly extra ventilation, to avoid moisture problems within the walls.

The best way to weigh these costs and benefits and make the most of your retrofit is first get a home energy audit.


Do you need a vapor barrier on a raised floor?

I-beams for a new home built on post-and-pad

Post and pad foundations are a common sight in Fairbanks, as they represent one of the least expensive approaches to building on unstable soils – of which we have no shortage. Usually the floor is raised several feet off of the ground, and air flows freely underneath.

It is standard practice in cold climate construction to install a vapor retarder on the “warm side” (indoors) of the exterior walls and ceilings. This keeps the water vapor generated in the living spaces during the cold seasons from entering the insulated cavities, where it can condense and lead to mold and rot. Installers typically use polyethylene plastic sheeting in a “6 mil” thickness, which is mandated by local building codes.

With post and pad construction, it may seem logical to also install plastic sheeting over the tops of the floor joists before laying down the subfloor sheathing.  In some cases however, it can do more harm than good.

If any rainwater leaks through the joints in the subfloor before the roof is on, it will be stopped by the plastic, and the floor may not be able to dry out quickly enough to avoid mold and decay. The same risks hold true if liquids are spilled on the floor once the house is finished, or if a major plumbing leak occurs. The plastic also prevents the use of subfloor adhesive between the joists and sheathing, which is designed to prevent squeaks in the floor. Modern subfloors are usually sheathed with industry-standard ¾-inch tongue and groove exterior-rated plywood, or oriented strand board (OSB).

With post and pad construction, the subfloor sheathings are less at risk for moisture issues to begin with. That’s partly because warm indoor air leaves at the top and is replaced by outside air drawn in at the bottom, so water vapor moves upwards – away from the floor. In addition, the combination of thickness and types of glues used in ¾-inch plywood and OSB subfloor sheathings means they are less likely to absorb any moisture that might be forced into the house.

To minimize air leakage through the floor, the unsupported seams can be caulked with an adhesive sealant, such as a silicone, that bonds well with wood. The decision of whether to use or omit a plastic vapor retarder in floors using post and pad construction ultimately rests with the engineer or the local code official, who may have reasons specific to the project or building site.